Why You’ll Love This Recipe
- No ice cream maker required
- Rich, creamy texture
- Easy to customize
- Made with simple ingredients
- Perfect for beginners
- Freezes beautifully
- Great for birthdays, parties, and family gatherings
Ingredients
Ice Cream Base
- 2 cups (480 ml) heavy whipping cream (cold)
- 1 can (14 oz / 397 g) sweetened condensed milk
- 2 teaspoons vanilla extract
- 1 pinch salt
Strawberry Flavor
- 1½ cups fresh strawberries
- 2 tablespoons sugar
- 1 teaspoon lemon juice
- A few drops of pink or red food coloring (optional)
Vanilla Flavor
- Extra 1 teaspoon vanilla extract
- Optional vanilla bean seeds
Optional Flavor Add-Ins
- Chocolate chips
- Crushed cookies
- Caramel sauce
- Brownie pieces
- Fresh berries
- Chopped nuts
- Mini marshmallows
- Peanut butter swirls
- Fruit jam
- White chocolate chunks
Equipment
- Electric mixer
- Large mixing bowl
- Rubber spatula
- Blender or food processor
- Freezer-safe containers with lids
Step 1: Prepare the Strawberry Puree
Wash and hull the strawberries.
Place them into a saucepan with:
- Sugar
- Lemon juice
Cook over medium heat for about 8–10 minutes, stirring occasionally until the berries soften.
Blend until smooth.
Allow the puree to cool completely before using.
For an ultra-smooth ice cream, strain out the seeds through a fine mesh sieve.
Step 2: Whip the Cream
Pour the cold heavy cream into a chilled mixing bowl.
Using an electric mixer, beat on medium-high speed for 3–5 minutes, until stiff peaks form.
The whipped cream should hold its shape but still look smooth and creamy.
Avoid overwhipping, as it can become grainy.
Step 3: Make the Ice Cream Base
In a separate bowl, combine:
- Sweetened condensed milk
- Vanilla extract
- Salt
Mix until smooth.
This sweet, creamy mixture forms the foundation of your ice cream.
Step 4: Fold the Mixtures Together
Using a rubber spatula, gently fold the whipped cream into the condensed milk mixture.
Work slowly to keep as much air in the mixture as possible. This air creates the light, creamy texture that makes no-churn ice cream so delicious.
Fold until no white streaks remain.
Step 5: Divide the Mixture
Divide the ice cream base evenly between two bowls.
One bowl will become vanilla ice cream.
The other will become strawberry ice cream.
Step 6: Make the Vanilla Ice Cream
Add:
- Extra vanilla extract
- Vanilla bean seeds (optional)
Fold gently until evenly mixed.
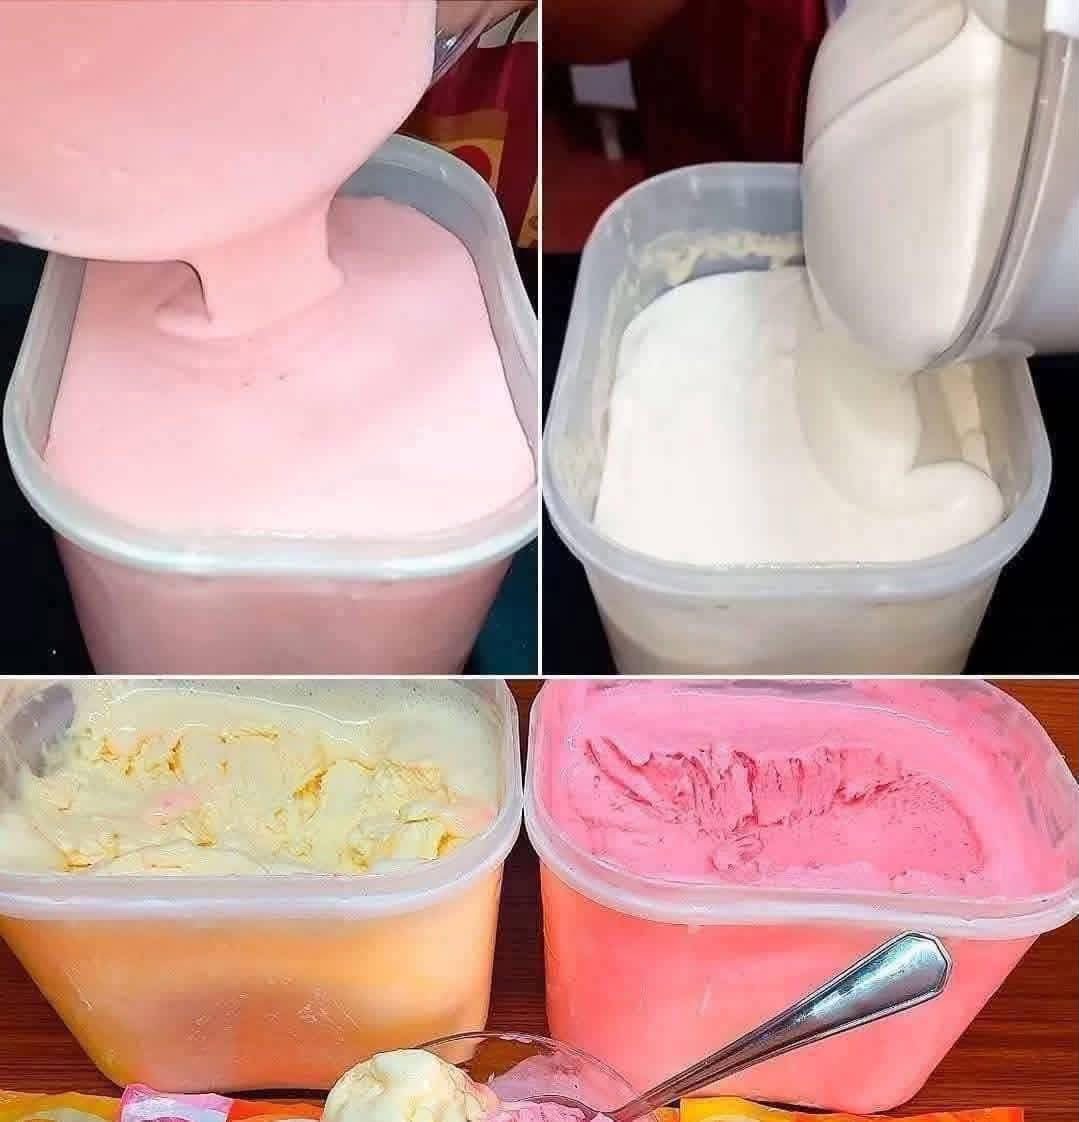
Transfer to a freezer-safe container.
Smooth the top with a spatula.
Step 7: Make the Strawberry Ice Cream
Fold the cooled strawberry puree into the second bowl.
If desired, add a few drops of food coloring to create a brighter pink color similar to the one shown in your image.
Mix until evenly combined.
Transfer to another freezer-safe container.
Step 8: Freeze
Cover both containers tightly.
Freeze for 6–8 hours, preferably overnight.
The ice cream will become firm yet remain easy to scoop.
Step 9: Serve
Remove the ice cream from the freezer 5–10 minutes before serving.
This allows it to soften slightly, making scooping much easier.
Serve in bowls, cones, or alongside your favorite desserts.
Delicious Topping Ideas
Top your homemade ice cream with:
- Fresh strawberries
- Chocolate syrup
- Caramel sauce
- Whipped cream
- Sprinkles
- Chopped almonds
- Toasted pecans
- Cookie crumbs
- Crushed Oreos
- Chocolate curls
- Mini chocolate chips
- Fresh mint leaves
Flavor Variations
Chocolate Ice Cream
Mix into the base:
- ½ cup cocoa powder
- 100 g melted dark chocolate
Coffee Ice Cream
Dissolve:
- 2 teaspoons instant espresso
- 1 tablespoon hot water
Fold into the base.
Mango Ice Cream
Replace the strawberry puree with:
- 1½ cups mango puree
Cookies & Cream
Fold in:
- 15 crushed chocolate sandwich cookies
Mint Chocolate Chip
Add:
- Peppermint extract
- Green food coloring (optional)
- Mini chocolate chips
Salted Caramel
Swirl caramel sauce throughout the mixture before freezing.
Pistachio
Mix in:
- Pistachio paste
- Chopped roasted pistachios
Storage
Store the ice cream in airtight freezer containers for up to 2 weeks.
To help prevent ice crystals, press a piece of plastic wrap directly onto the surface before sealing with the lid.
Tips for Success
- Use very cold heavy cream for maximum volume.
- Chill the mixing bowl and beaters before whipping.
- Fold gently to keep the mixture light and airy.
- Cool fruit purees completely before adding them to the base.
- Freeze overnight for the best texture.
- Avoid frequent thawing and refreezing.
- Use full-fat ingredients for the creamiest results.
- If the ice cream becomes too hard, let it sit at room temperature for several minutes before scooping.
Nutritional Information (Approximate)
Per serving (½ cup):
- Calories: 320
- Protein: 5 g
- Carbohydrates: 24 g
- Fat: 23 g
- Saturated Fat: 15 g
- Cholesterol: 85 mg
- Sodium: 60 mg
- Sugar: 22 g
Final Thoughts
Making homemade no-churn ice cream is one of the easiest and most rewarding desserts you can prepare. With just a handful of everyday ingredients—heavy cream, sweetened condensed milk, vanilla, and fresh strawberries—you can create ice cream that’s luxuriously creamy, rich in flavor, and beautifully smooth without the need for a specialized ice cream machine.
The vanilla version offers a timeless, comforting taste that’s perfect on its own or paired with cakes and pies, while the strawberry version brings a fresh, fruity sweetness and a vibrant pink color that’s especially appealing during warmer months. Because the recipe serves as a versatile base, you can easily transform it into dozens of other flavors by adding chocolate, coffee, tropical fruits, cookies, nuts, or caramel.