Why Mulberries Are So Special
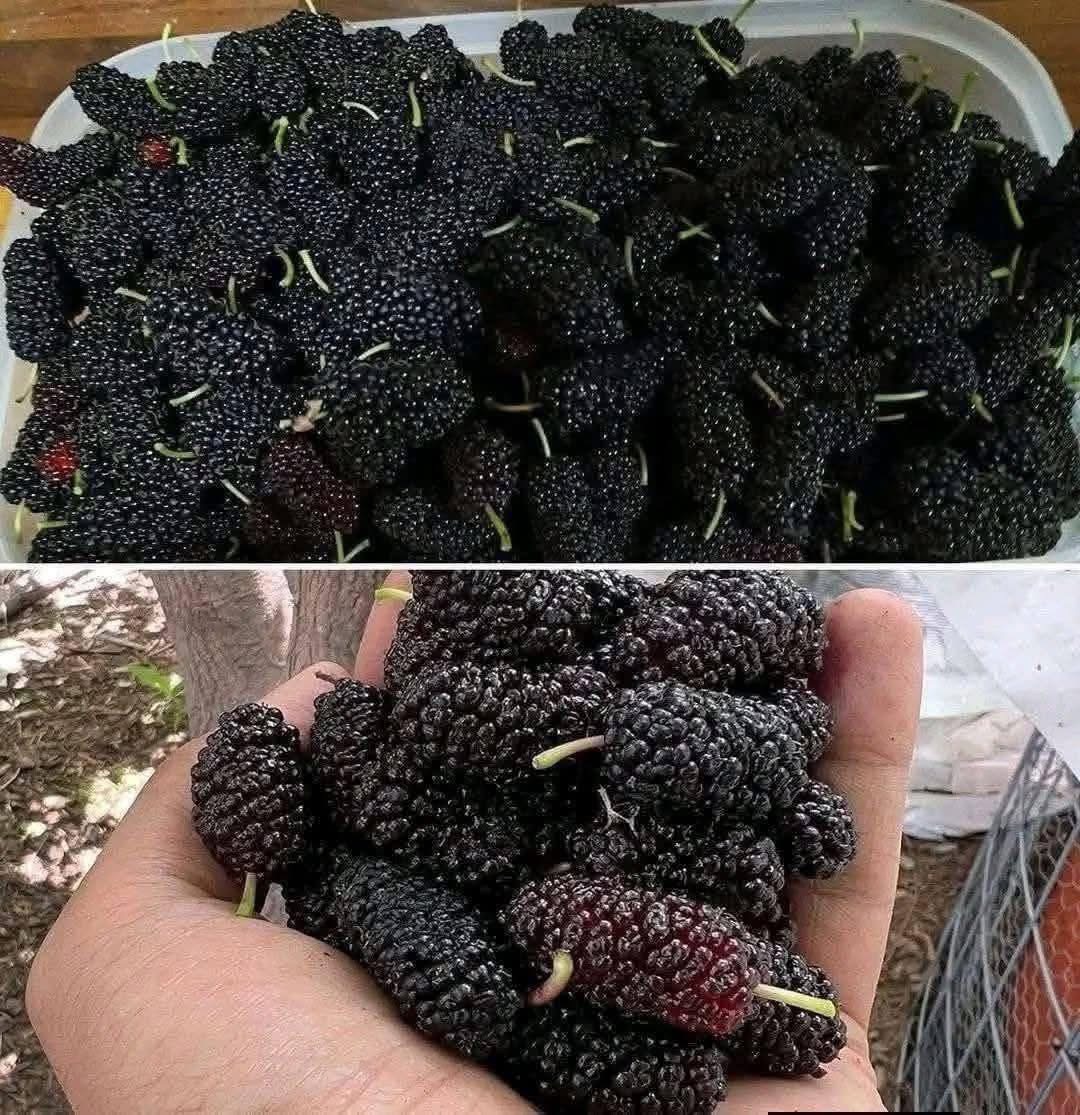
Mulberries are often underrated, but they are incredibly nutritious and flavorful.
They are rich in:
- Vitamin C
- Iron
- Antioxidants (anthocyanins)
- Fiber
They have a delicate texture, so they don’t last long fresh — which is why turning them into jam is one of the best options.
Ingredients You’ll Need
Main Ingredients
- 1 kg fresh mulberries
- 600–700 g sugar (adjust to taste)
- 2 tablespoons lemon juice
- Optional: 1 teaspoon vanilla extract
Optional Additions
- Cinnamon stick (for warmth)
- Orange zest (for citrus flavor)
- Honey (replace part of sugar)
Preparing the Mulberries
Step 1: Cleaning
Mulberries are delicate, so wash gently:
- Place them in a bowl of cold water.
- Swirl lightly — do not rub.
- Remove any stems or debris.
- Drain carefully using a sieve.
Avoid soaking too long because they absorb water easily.
Step 2: Sorting
Remove:
- Overripe mushy berries
- Green or unripe ones
Use only ripe, dark berries for best flavor.
Cooking the Jam
Step 1: Crushing the Fruit
Place mulberries in a large pot.
Use a spoon or potato masher to gently crush them.
You want a mix of:
- Juice
- Pulp
- Small chunks
This gives the jam a rich texture.
Step 2: Adding Sugar
Add sugar to the pot and mix well.
Let the mixture sit for 15–30 minutes.
This step helps:
- Draw out natural juices
- Enhance flavor
- Start the thickening process
Step 3: Cooking
Place the pot on medium heat.
Bring the mixture to a gentle boil.
Stir frequently to prevent burning.
As it cooks:
- Foam may form — skim it off
- The color deepens to dark purple
Step 4: Add Lemon Juice
Add lemon juice after 10 minutes of boiling.
Why?
- Helps preserve color
- Balances sweetness
- Aids natural thickening
Step 5: Simmer and Thicken
Reduce heat to low.
Let it simmer for 20–40 minutes, stirring occasionally.
You’ll notice:
- The mixture thickens
- Bubbles become slower and heavier
Step 6: Test for Doneness
Use the plate test:
- Place a small plate in the freezer.
- Drop a little jam on it.
- Wait 30 seconds.
- Push it with your finger.
If it wrinkles, it’s ready.
Final Step: Filling Jars
- Sterilize glass jars (boil or heat in oven).
- Pour hot jam into jars.
- Seal immediately.
- Let cool upside down.
Store in a cool, dark place.
Texture Tips
- For smooth jam → blend before cooking
- For chunky jam → leave as is
- For thicker jam → cook longer
Mulberries have less pectin than other fruits, so patience is key.
Flavor Variations
1. Mulberry & Lemon Jam
Add extra lemon zest for brightness.
2. Mulberry & Cinnamon
Add a cinnamon stick while cooking.
3. Mulberry & Honey
Replace 25% of sugar with honey.
4. Mulberry & Apple
Add grated apple for natural pectin.
How to Use Mulberry Jam
This jam is incredibly versatile.
Enjoy it with:
- Toast
- Pancakes
- Yogurt
- Ice cream
- Cakes
- Cheese boards
It pairs beautifully with both sweet and savory dishes.
Storage Tips
- Unopened jars: up to 6 months
- Opened jar: refrigerate and use within 2–3 weeks
Always use a clean spoon to avoid contamination.
Health Benefits of Mulberry Jam
Even as jam, mulberries offer:
- Antioxidants
- Energy from natural sugars
- Mild iron content
However, because of sugar, enjoy in moderation.
Common Mistakes to Avoid
- Overwashing berries → watery jam
- Cooking too fast → burnt flavor
- Not stirring → sticking
- Too much sugar → overly thick jam
- Too little sugar → poor preservation
Bonus: Quick Mulberry Syrup
If you prefer a drink:
- Cook mulberries with sugar and water
- Strain
- Bottle the liquid
Use for:
- Juices
- Cocktails
- Desserts
Final Thoughts
Fresh mulberries are a seasonal treasure. Turning them into jam is one of the best ways to preserve their flavor and enjoy them all year long.
This homemade mulberry jam is:
- Rich
- Natural
- Free from preservatives
- Full of deep fruity flavor