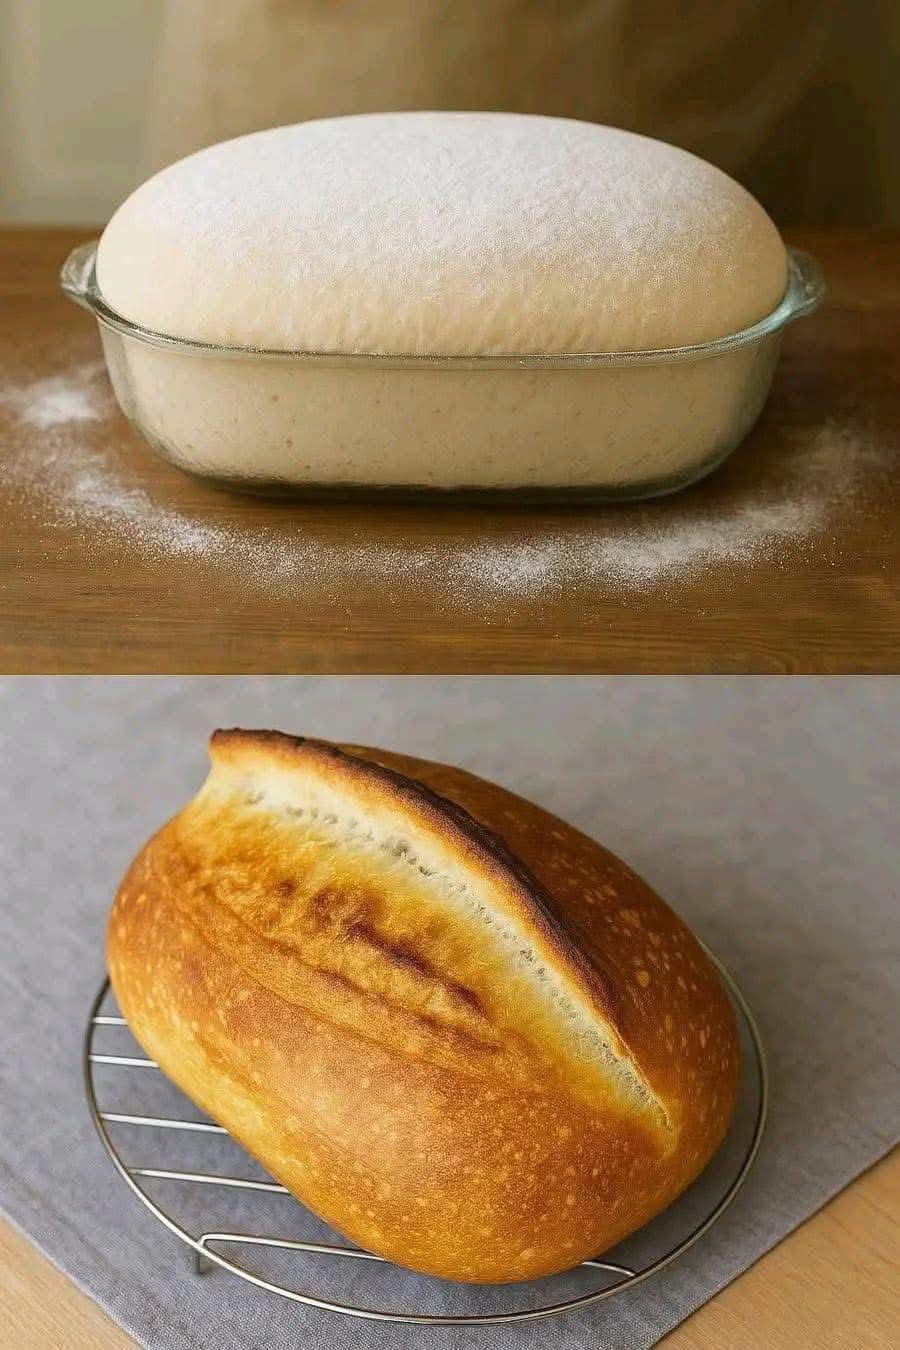
Perfect rise • golden crust • simple ingredients
The bread in your images shows two stages of the same beautiful loaf: first, a perfectly risen dough domed inside a glass dish, smooth like a pillow; second, a finished loaf with a crisp, golden surface and a dramatic score line that opened beautifully in the oven. This type of loaf resembles a hybrid between a rustic artisan bread and a soft bakery-style white loaf. The following recipe walks you through each step to achieve the same result — from mixing to shaping to scoring and baking.
Ingredients
Dry Ingredients
- 500 g all-purpose flour or bread flour
- 10 g fine salt (about 1 ½ teaspoons)
- 7 g instant yeast (1 packet)
- 20 g sugar (optional, but helps with color and rise)
Wet Ingredients
- 320–340 ml warm water (not hot)
- 30 ml vegetable oil or olive oil (optional, for extra softness)
Optional Add-Ins
- 30 g softened butter (to enrich the dough)
- 1 egg (for a richer crumb)
- 30 ml milk (for extra softness)
For Dusting
- 1–2 tablespoons flour
Step 1: Mixing the Dough
Start by combining all dry ingredients in a large mixing bowl: flour, salt, sugar, and instant yeast. Mix to disperse everything evenly.
Next, create a small well in the center and add warm water gradually. You may not need the full amount; add water until the dough comes together and starts to look shaggy. Mix with your hands or a silicone spatula.
If using oil, add it now. The oil helps the dough stay softer and gives the finished loaf a light, tender crumb rather than a very rustic one.
Once the dough begins to pull together, transfer it to a lightly floured surface.
Step 2: Kneading (10–12 minutes)
Kneading is crucial for building the gluten network that traps gas, allowing the dough to rise high and create that smooth, elastic surface like the first image.
Knead using this rhythm:
- Push dough away from you
- Fold it back
- Rotate a quarter turn
- Repeat
Continue until:
- The dough becomes smooth
- It stops sticking to your hands
- You can stretch a small piece thin enough to see light through it (the “windowpane test”)
If the dough is too sticky, don’t add too much flour. A slightly tacky dough produces a softer loaf. Just dust lightly as needed.
Step 3: First Rise (1–1.5 hours)
Lightly oil a large bowl and place the dough inside. Cover it with:
- Plastic wrap
- A damp cloth
- Or a lid
Let it rest in a warm, draft-free place.
It should double or nearly triple in size.
This is the stage shown in your top image: the dough expands so much it creates a perfect dome shape, smooth and full of air.
Tips:
- Ideal temperature: 24–28°C (75–82°F)
- If your kitchen is cold, place the bowl in your turned-off oven with the light on.
Step 4: Shaping the Loaf
Once the dough has doubled, gently punch it down to release the excess gas. Turn it onto a lightly floured surface.
To shape:
- Flatten the dough into a rectangle.
- Roll it tightly from one end to the other (like forming a log).
- Tuck in the sides.
- Tighten the surface by pulling the dough toward you while dragging slightly across the table — this creates tension and the smooth, tight skin seen in your baked loaf.
Place the shaped dough into:
- A bread pan
- A glass baking dish
- Or onto parchment paper
Dust the surface lightly with flour for the classic artisan look.
Step 5: Second Rise (30–45 minutes)
Let the dough rest again until it becomes puffy and rises about 60–80% of its previous height. Do not overproof.
This stage is what gives your loaf the brilliant rise in the oven and the dramatic ear (the lifted crust from scoring).
Step 6: Scoring the Dough
Use a sharp blade, razor, or bread lame to cut a single confident line along the length of the loaf.
Hold your blade at a **30