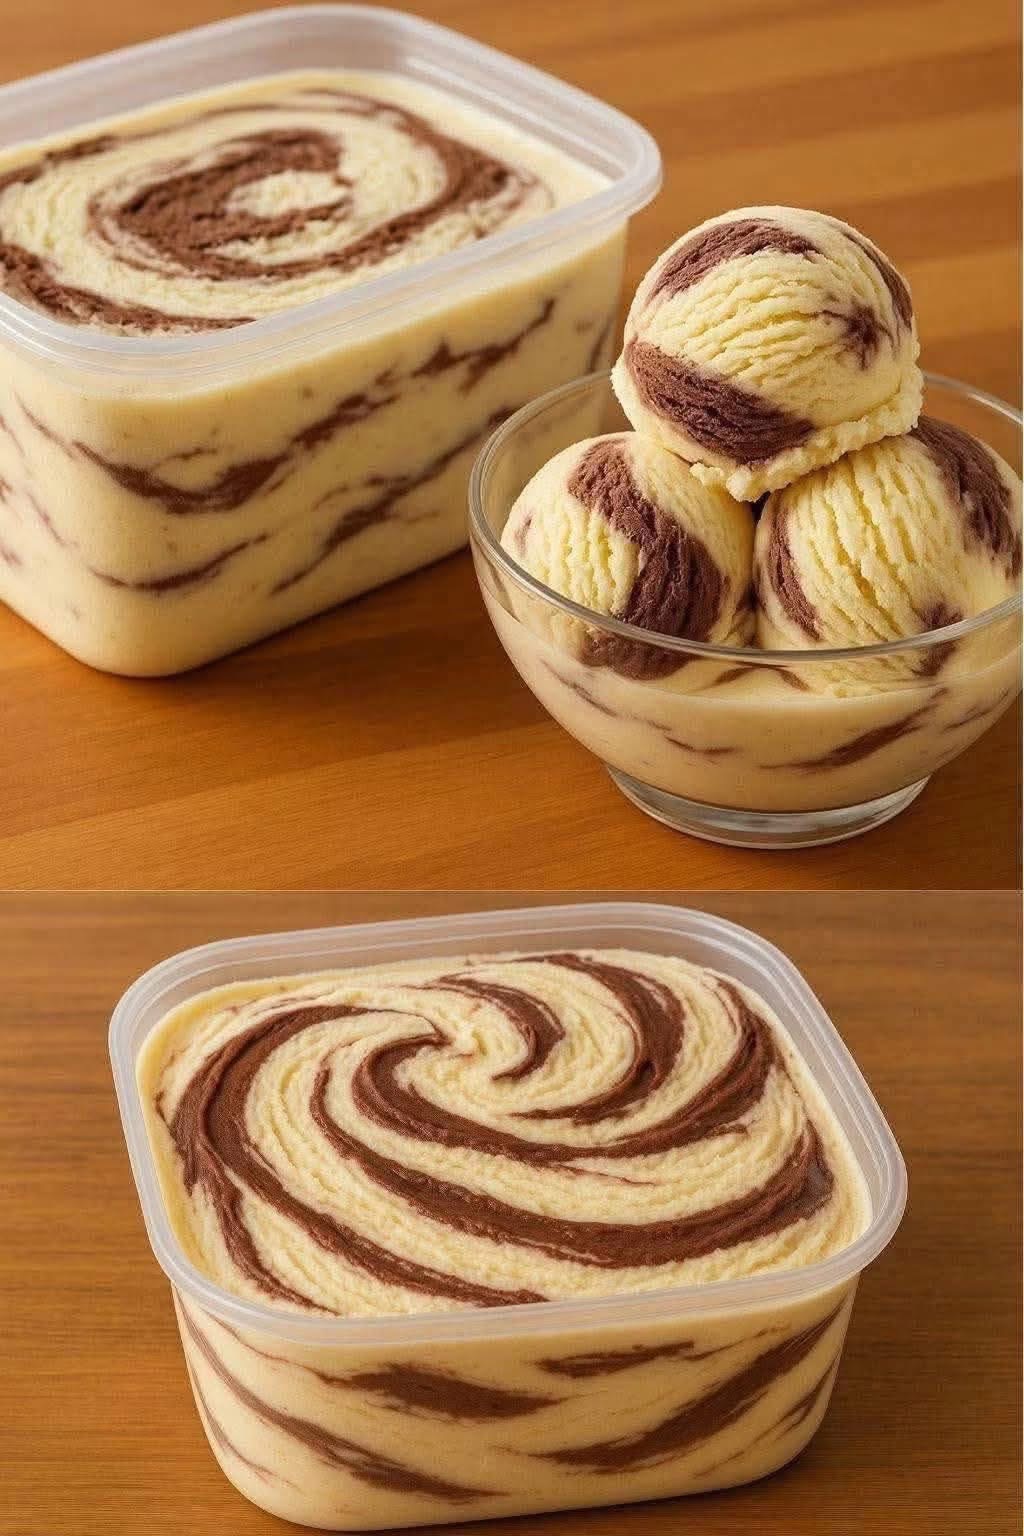
Homemade Vanilla & Chocolate Swirl Ice Cream
The dessert in your image looks like a rich, creamy Vanilla and Chocolate Swirl Ice Cream, featuring smooth vanilla ice cream with ribbons of chocolate folded throughout. This recipe creates a luxurious, scoopable ice cream with a beautiful marbled appearance and a velvety texture. It’s perfect for summer gatherings, birthdays, family desserts, or whenever you’re craving a homemade frozen treat.
Yield: 8–10 servings
Prep Time: 30 minutes
Chilling Time: 6–8 hours (or overnight)
Ingredients
For the Vanilla Ice Cream Base
- 2 cups (480 ml) heavy whipping cream
- 2 cups (480 ml) whole milk
- ¾ cup (150 g) granulated sugar
- 4 large egg yolks
- 2 teaspoons pure vanilla extract
- 1 teaspoon vanilla bean paste (optional)
- Pinch of salt
For the Chocolate Swirl
- 150 g (5 oz) dark chocolate, finely chopped
- ½ cup (120 ml) heavy cream
- 1 tablespoon unsalted butter
- 2 tablespoons cocoa powder
- 2 tablespoons powdered sugar
- ½ teaspoon vanilla extract
Equipment
- Medium saucepan
- Whisk
- Mixing bowls
- Fine-mesh strainer
- Ice bath (optional but recommended)
- Ice cream maker (or freezer-safe container for no-churn method)
- Loaf pan or airtight freezer container
- Butter knife or skewer for swirling
Step 1: Make the Vanilla Custard
In a saucepan, combine the whole milk and half of the sugar. Heat over medium heat until steaming but not boiling.
Meanwhile, whisk the egg yolks with the remaining sugar until pale and slightly thickened. This helps create a smooth, creamy custard.
Slowly pour a little of the hot milk into the egg mixture while whisking constantly. This process, called tempering, prevents the eggs from scrambling.
Gradually add the rest of the hot milk while continuing to whisk.
Return everything to the saucepan and cook over low heat, stirring constantly with a wooden spoon or silicone spatula. Continue until the custard thickens enough to coat the back of the spoon (around 170–175°F / 77–80°C).
Do not let it boil.
Step 2: Finish the Ice Cream Base
Remove the saucepan from the heat.
Stir in:
- Heavy cream
- Vanilla extract
- Vanilla bean paste (optional)
- Pinch of salt
Pour the mixture through a fine-mesh strainer into a clean bowl to remove any tiny cooked egg bits.
Cool the mixture over an ice bath, then refrigerate for at least 4 hours or overnight. A thoroughly chilled base produces smoother, creamier ice cream.
Step 3: Prepare the Chocolate Swirl
In a small saucepan, heat the heavy cream until it just begins to simmer.
Remove from the heat and add:
- Chopped chocolate
- Butter
- Cocoa powder
- Powdered sugar
- Vanilla extract
Let sit for one minute.
Whisk until completely smooth and glossy.
Allow the chocolate mixture to cool to room temperature. It should remain pourable but not hot.
Step 4: Churn the Ice Cream
Pour the chilled vanilla base into your ice cream maker.
Churn according to the manufacturer’s instructions, usually 20–25 minutes, until it reaches a soft-serve consistency.
If you do not have an ice cream maker, pour the mixture into a shallow freezer-safe container. Freeze for 45 minutes, then stir vigorously with a fork or hand mixer. Repeat every 30–45 minutes for about 3–4 hours to reduce ice crystals and improve texture.
Step 5: Create the Swirl
Transfer one-third of the churned vanilla ice cream into a freezer container.
Drizzle some of the cooled chocolate mixture over the top.
Repeat with alternating layers of vanilla ice cream and chocolate until all the mixture has been used.
Use a butter knife or skewer to gently swirl through the layers. Avoid overmixing—just a few figure-eight motions are enough to create attractive chocolate ribbons.
Step 6: Freeze
Cover the container tightly.
Freeze for at least 6 hours or overnight until firm enough to scoop.
Step 7: Serve
Let the ice cream sit at room temperature for 5–10 minutes before scooping.
Serve in bowls, waffle cones, or sugar cones.
For an extra-special presentation, top with chocolate curls, toasted nuts, whipped cream, or fresh berries.
Optional Flavor Variations
Cookies & Cream Swirl
Fold crushed chocolate sandwich cookies into the vanilla base before freezing.
Chocolate Hazelnut
Replace the chocolate swirl with warmed chocolate-hazelnut spread for a rich, nutty flavor.
Peanut Butter Swirl
Swirl softened peanut butter mixed with a little powdered sugar into the vanilla ice cream.
Salted Caramel
Use thick salted caramel sauce instead of chocolate for a sweet-and-salty twist.
Mocha Marble
Add 1 teaspoon of espresso powder to the chocolate swirl for a subtle coffee flavor.
Mint Chocolate
Add ½ teaspoon peppermint extract to the vanilla base and use dark chocolate for the swirl.
Tips for Perfect Homemade Ice Cream
- Chill the base thoroughly before churning.
- Use high-fat dairy for the creamiest texture.
- Don’t over-swirl the chocolate, or the distinct ribbons will disappear.
- Store the ice cream in an airtight container to prevent freezer burn.
- Press a piece of parchment paper or plastic wrap directly onto the surface before sealing the container to minimize ice crystals.
- For cleaner scoops, dip your ice cream scoop in warm water between servings.
Storage
Store the ice cream in the freezer for up to 2 weeks for the best flavor and texture. While it remains safe to eat beyond that if properly stored, homemade ice cream is at its creamiest when enjoyed within the first couple of weeks.
Approximate Nutrition (Per Serving)
- Calories: 320–380
- Carbohydrates: 28 g
- Protein: 5 g
- Fat: 22 g
- Saturated Fat: 13 g
- Cholesterol: 120 mg
- Sugar: 24 g
- Sodium: 70 mg
Serving Suggestions
This vanilla and chocolate swirl ice cream pairs wonderfully with warm brownies, chocolate cake, apple pie, waffles, pancakes, or fresh fruit. You can also use it to make milkshakes, ice cream sandwiches, or elegant sundaes layered with whipped cream, chocolate sauce, chopped nuts, and cherries.
Final Thoughts
Homemade Vanilla & Chocolate Swirl Ice Cream combines the timeless appeal of creamy vanilla with rich ribbons of chocolate, creating a dessert that’s both visually striking and irresistibly delicious. By making the custard from scratch, you achieve a silky, premium texture that rivals gourmet ice cream shops. Whether you prepare it for a family celebration, a weekend barbecue, or simply to keep in the freezer for sweet cravings, this recipe is sure to become a favorite. Experiment with different swirl flavors, mix-ins, and toppings to create your own signature version while enjoying the satisfaction of crafting truly homemade ice cream.