Rich, Smooth, and Ultra Creamy Chocolate Delight
There’s nothing more satisfying than a scoop of rich, creamy chocolate ice cream. Smooth texture, deep cocoa flavor, and that soft, velvety finish that melts perfectly in your mouth — this homemade chocolate ice cream recipe delivers all of that and more.
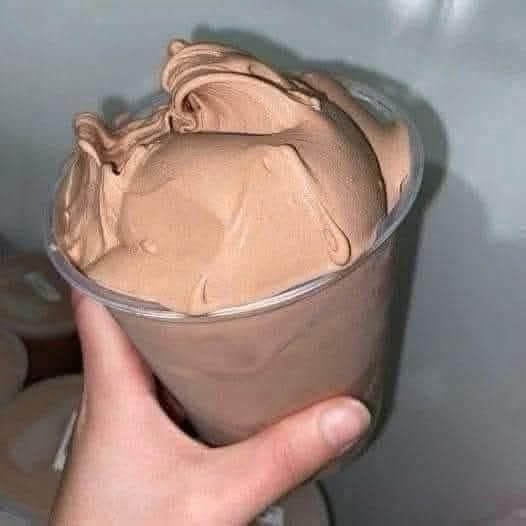
This recipe creates a luxurious, scoopable chocolate ice cream with a silky texture just like the one in the picture — thick, creamy, and perfectly whipped. Best of all, you can make it with or without an ice cream machine.
If you love chocolate, this will quickly become your favorite frozen dessert.
Why You’ll Love This Recipe
- Super creamy texture
- Deep chocolate flavor
- Easy to prepare
- No complicated steps
- Better than store-bought
- Customizable sweetness
The secret is balancing cream, milk, and real chocolate for the perfect smooth consistency.
Ingredients
For the Ice Cream Base
- 2 cups (480 ml) heavy cream (cold)
- 1 cup (240 ml) whole milk
- ¾ cup (150 g) granulated sugar
- ½ cup (50 g) unsweetened cocoa powder
- 4 oz (115 g) dark chocolate, finely chopped
- 3 egg yolks
- 1 teaspoon vanilla extract
- Pinch of salt
Step 1: Prepare the Chocolate Mixture
In a saucepan over medium heat:
- Add milk and cocoa powder.
- Whisk until smooth and fully combined.
- Add chopped dark chocolate.
- Stir until melted completely.
Do not boil — just heat until everything is smooth and blended.
Step 2: Make the Custard Base
In a separate bowl:
- Whisk egg yolks and sugar until pale and slightly thick.
Slowly pour a small amount of the warm chocolate mixture into the egg mixture while whisking continuously. This step tempers the eggs so they don’t scramble.
Gradually add the rest of the chocolate mixture while stirring.
Return everything to the saucepan and cook over low heat, stirring constantly, until the mixture thickens slightly (about 3–5 minutes). It should coat the back of a spoon.
Do not let it boil.
Step 3: Add Cream and Vanilla
Remove from heat and stir in:
- Heavy cream
- Vanilla extract
- Pinch of salt
Mix until fully combined.
Step 4: Chill the Mixture
Pour the mixture into a bowl and cover with plastic wrap touching the surface to prevent a skin from forming.
Refrigerate for at least 4 hours or overnight.
Chilling is essential for a creamy final texture.
Step 5: Churning Options
If Using an Ice Cream Machine
Pour chilled mixture into the machine and churn according to manufacturer instructions (usually 20–25 minutes).
Transfer to a container and freeze for 2–3 hours for firmer texture.
No Ice Cream Machine Method
Pour chilled mixture into a freezer-safe container.
Freeze for 1 hour, then remove and whisk vigorously or blend with a hand mixer to break ice crystals.
Repeat every 30–45 minutes for 3–4 hours.
This creates a smooth, creamy texture without special equipment.
Texture Guide
When done correctly, your ice cream will be:
- Thick but scoopable
- Smooth and creamy
- Rich chocolate color
- Velvety and dense
It should hold its shape beautifully when scooped.
Flavor Variations
Extra Dark Chocolate
Add 2 tablespoons espresso powder for deeper flavor.
Chocolate Chip
Fold in chocolate chips during the last few minutes of churning.
Nutty Twist
Add roasted chopped hazelnuts or almonds.
Fudge Swirl
Swirl in warm fudge sauce before final freezing.
Storage Tips
Store in an airtight container in the freezer.
Place parchment paper directly on top of the ice cream surface to prevent ice crystals.
Best consumed within 2 weeks for optimal texture.
Tips for Ultra Creaminess
- Use full-fat dairy
- Do not skip egg yolks
- Chill base thoroughly
- Avoid overcooking custard
- Freeze in shallow container for even freezing
Fat content is key to smooth texture.
Common Mistakes to Avoid
- Boiling the custard (causes grainy texture)
- Skipping tempering step
- Not chilling enough
- Using low-fat ingredients
Patience equals creaminess.
Serving Ideas
Serve in:
- Ice cream cones
- Dessert bowls
- Chocolate cups
- With brownies
- With waffles
- As milkshakes
You can also top with whipped cream and chocolate shavings.
Nutritional Notes
This ice cream is rich and indulgent due to cream and egg yolks. For a lighter version, you can replace part of the cream with whole milk, but texture will be slightly less creamy.
Perfect Occasions
- Summer dessert
- Birthday parties
- Dinner gatherings
- Family movie nights
- Chocolate cravings
It’s a timeless classic that everyone loves.
Final Thoughts
This Homemade Chocolate Ice Cream is smooth, rich, and deeply chocolatey. With simple ingredients and a little patience, you can create a luxurious frozen dessert that tastes better than store-bought.