Ingredients (Serves 8–10)
For the cake
- 2 cups coarse semolina (سميد خشن)
- 1 cup fine semolina (optional but improves texture)
- 1 cup sugar
- 1 cup plain yogurt (room temperature)
- ½ cup melted butter or ghee
- ¼ cup vegetable oil
- 1 tsp baking powder
- 1 tsp vanilla
- Pinch salt
- ¼ cup milk (if batter is thick)
For the syrup (very important)
- 2 cups sugar
- 1½ cups water
- 1 tbsp lemon juice
- 1 tbsp honey or glucose (optional for shine)
- 1 tsp orange blossom or rose water (optional)
Topping
- chopped pistachios or almonds
🔥 Step 1 – Make the Syrup FIRST
Always start with syrup.
Because:
👉 hot syrup + hot cake = perfect absorption
If one is cold, it won’t soak properly.
How to make syrup:
In a saucepan:
Add sugar + water.
Bring to boil.
Then simmer 10–12 minutes.
Add:
- lemon juice
- honey
Simmer 2 more minutes.
Turn off heat.
Add orange blossom water (optional).
Let cool slightly.
Texture:
Not too thick. Slightly sticky only.
If too thick → cake won’t absorb.
Set aside.
🥣 Step 2 – Prepare the Batter
In a large bowl:
Mix dry ingredients:
- semolina
- sugar
- baking powder
- salt
Stir well.
Now add:
- yogurt
- melted butter
- oil
- vanilla
Mix gently with spatula.
Do NOT overmix.
Texture should be thick but spreadable.
If too stiff → add little milk.
Important Rest Time
Let batter rest 10–15 minutes.
This step is KEY.
Semolina absorbs liquid and softens.
Without resting → gritty cake.
With resting → soft, tender texture.
Huge difference.
🍰 Step 3 – Prepare Pan
Grease pan well with butter or oil.
Use:
- rectangular tray
- square pan
- or round dish
Around 9×13 inches works great.
Pour batter.
Spread evenly with spatula.
Tap tray to remove air bubbles.
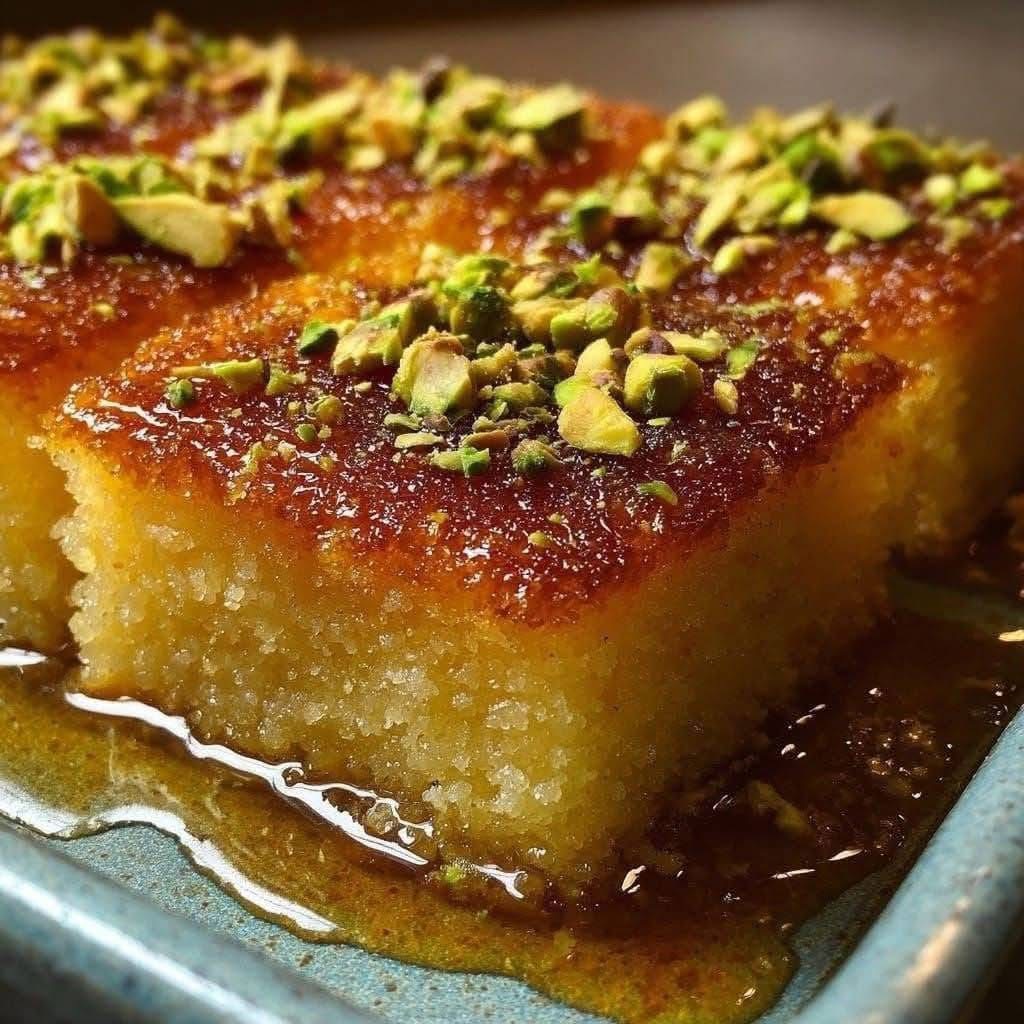
Thickness should be about 2–3 cm like your photo.
🔪 Step 4 – Score Before Baking
Use knife.
Cut into:
- squares
- diamonds
- rectangles
Cutting now makes clean pieces later.
Optional:
Place pistachios or almonds on each piece.
(Or add later like your picture)
🔥 Step 5 – Bake
Preheat oven to 180°C (350°F).
Bake 30–40 minutes until:
✔ top golden brown
✔ edges caramelized
✔ center set
For darker top like photo:
Broil/grill 2–3 minutes at end.
Watch carefully so it doesn’t burn.
💦 Step 6 – Syrup Time (Magic Moment)
This is the most satisfying part.
Cake comes out HOT.
Syrup should be warm (not cold).
Slowly pour syrup evenly over entire cake.
You’ll hear:
sssssssssss 😍
That’s the cake drinking syrup.
Use all syrup.
Trust the process.
It looks too much at first… but it absorbs perfectly.
🧊 Step 7 – Rest & Soak
Let sit 1–2 hours minimum.
Even better → overnight.
This allows:
- full absorption
- soft texture
- deep flavor
If you cut too early → dry center.
Patience = perfect basbousa.
🌿 Step 8 – Add Pistachios
After soaking:
Sprinkle chopped pistachios.
Press lightly.
The green color + glossy top = beautiful presentation.
Just like your image.
🍽 Step 9 – Slice & Serve
Follow your earlier cuts.
Lift pieces gently.
You’ll see:
✨ shiny syrup bottom
✨ soft moist crumb
✨ caramelized top
✨ pistachio crunch
Serve room temperature or slightly warm.
🔥 Texture Secrets (Bakery Tricks)
Want EXACT bakery texture?
Follow these:
✅ Use coarse semolina (not flour)
✅ Rest batter before baking
✅ Hot cake + warm syrup
✅ Don’t reduce syrup too much
✅ Use butter + oil combo
✅ Let soak fully
These small tricks make HUGE difference.
🌟 Flavor Variations
Once you master classic version:
🥥 Coconut Basbousa
Add ½ cup shredded coconut
Gives tropical flavor.
🧀 Cream Filled (Basbousa Ashta)
Add layer of cream in middle
Luxury version.
🍊 Orange
Add orange zest
Fresh aroma.
🍫 Chocolate
Add cocoa or Nutella swirl
Kids love it.
🌰 Nutty
Add almonds or walnuts inside batter
Crunchy bites.
🧊 Storage
Room temp: 2 days covered
Fridge: 5–6 days
Freezer: 2 months
Reheat slightly before serving.
Tastes even better next day.
❤️ Why Everyone Loves Basbousa
Because it’s:
✔ cheap ingredients
✔ easy to make
✔ no mixer needed
✔ super moist
✔ feeds many people
✔ perfect with tea or coffee
And that syrupy texture is honestly addictive.
One piece becomes three… trust me 😂
☕ Serving Ideas
Serve with:
- Moroccan mint tea
- Arabic coffee
- Turkish coffee
- milk
- or vanilla ice cream
Next level combo.