🥘 Ingredients
Main
- 10–12 chicken drumsticks (about 1.5–2 kg)
- 1 tablespoon olive oil
- Salt
- Black pepper
- 1 teaspoon paprika
- 1 teaspoon garlic powder
- 1 teaspoon onion powder
Honey Garlic Sauce
- ½ cup honey
- ½ cup soy sauce (low sodium preferred)
- 4 cloves garlic, minced
- 1 tablespoon fresh ginger (optional but amazing)
- ¼ cup ketchup or BBQ sauce
- 1 tablespoon apple cider vinegar or lemon juice
- 1 tablespoon brown sugar
- 1 teaspoon chili flakes (optional heat)
- 1 tablespoon cornstarch + 2 tablespoons water (for thickening later)
Garnish (optional)
- Fresh parsley
- Green onions
- Sesame seeds
🍳 Equipment
- Slow cooker / crockpot
- Large bowl
- Small saucepan (for sauce thickening)
- Tongs
- Baking tray (optional for broiling)
👩🍳 Step-by-Step Instructions
Step 1 – Season the chicken
Pat the drumsticks dry using paper towels.
(This step helps the skin absorb flavor and brown better later.)
Place them in a large bowl and add:
- olive oil
- salt
- pepper
- paprika
- garlic powder
- onion powder
Massage the seasoning into every piece.
Don’t rush this — coating well = big flavor.
Step 2 – Optional sear (extra flavor boost)
This step is optional but highly recommended.
Heat a pan over medium-high heat.
Brown the drumsticks for 2–3 minutes per side.
You’re not cooking them fully — just creating a golden crust.
Why?
Because searing:
✔ locks in juices
✔ adds deeper flavor
✔ improves final texture
✔ gives that roasted look
Totally worth it if you have time.
Step 3 – Make the sauce
In a bowl, add:
- honey
- soy sauce
- garlic
- ginger
- ketchup/BBQ sauce
- vinegar
- brown sugar
- chili flakes
Whisk until smooth.
Taste it.
You should get:
sweet + salty + garlicky + slightly tangy
If you like:
👉 sweeter → add honey
👉 saltier → add soy sauce
👉 spicier → add chili
Adjust to your taste.
Step 4 – Load the crockpot
Place drumsticks inside the slow cooker in a single layer if possible.
Pour the sauce evenly over the chicken.
Make sure every piece gets coated.
Cover with lid.
Step 5 – Slow cook
Cook on:
LOW → 5–6 hours
or
HIGH → 3–4 hours
The chicken is ready when:
✔ meat is very tender
✔ almost falling off bone
✔ internal temp = 75°C (165°F)
Your kitchen will smell INSANE at this point. Sweet garlic heaven.
Step 6 – Thicken the sauce
Remove drumsticks and set aside.
Pour the cooking liquid into a saucepan.
Mix cornstarch + water to make a slurry.
Add to sauce and simmer 3–5 minutes until thick and glossy.
It will turn into a sticky glaze.
This is the magic moment ✨
Step 7 – Optional caramelized finish
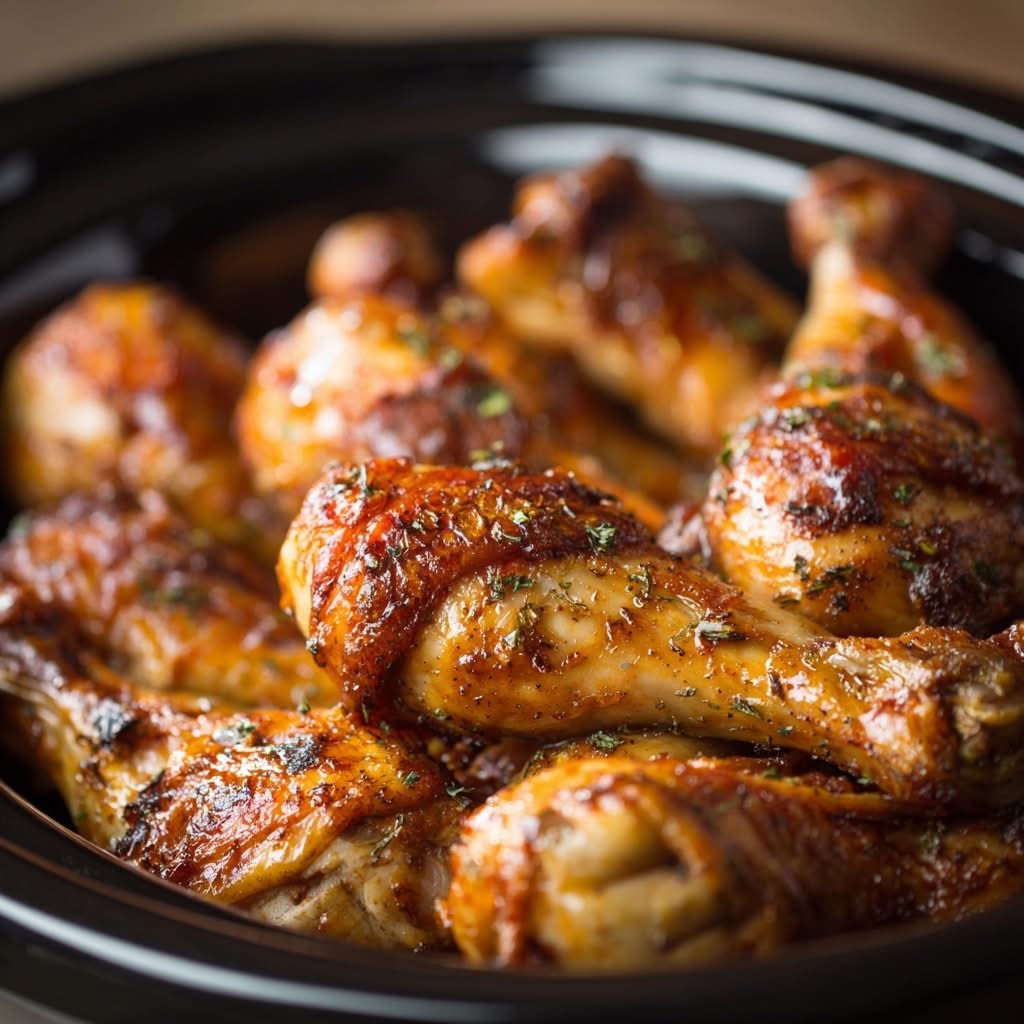
For extra crispy skin (like the photo):
Place drumsticks on baking tray.
Brush with thickened sauce.
Broil in oven for 4–6 minutes.
The sugars caramelize → golden sticky coating → AMAZING texture.
Don’t skip if you want restaurant-style results.
Step 8 – Serve
Brush with extra glaze.
Sprinkle parsley or green onions.
Serve hot.
Watch them disappear fast 😄
🍯 Flavor Profile
These drumsticks taste:
• sweet from honey
• savory from soy sauce
• garlicky
• slightly smoky
• juicy inside
• sticky outside
• perfectly tender
Every bite is messy in the best way possible.
Finger-licking good. Literally.
🔥 Pro Tips
Dry chicken first
Wet skin = soggy texture.
Don’t overcrowd crockpot
Better heat circulation.
Broil at the end
Game changer for texture.
Use fresh garlic
Powder isn’t the same here.
Thicken sauce separately
Prevents watery results.
🍽 What to Serve With It
These pair beautifully with:
• Rice
• Mashed potatoes
• Roasted vegetables
• Coleslaw
• Garlic bread
• Fries
• Pasta
• Salad
Or shred leftovers into:
👉 sandwiches
👉 wraps
👉 tacos
👉 bowls
Super versatile.
🌶 Variations
Spicy Korean style
Add gochujang + sesame oil
BBQ version
Use BBQ sauce instead of ketchup
Lemon garlic
Replace honey with lemon + butter
Teriyaki
Add pineapple juice + sesame
Crispy baked only
Bake at 200°C for 35–40 minutes instead
❄️ Storage & Meal Prep
Fridge
4 days airtight
Freezer
Up to 2 months
Reheat
Oven or air fryer best (crispy again)
❤️ Why You’ll Love This Recipe
✔ Super easy
✔ One pot
✔ Cheap ingredients
✔ Kid friendly
✔ High protein
✔ Huge flavor
✔ Perfect for busy days
✔ Tastes like restaurant food