Perfect Juicy Whole Roasted Chicken with Golden Potatoes
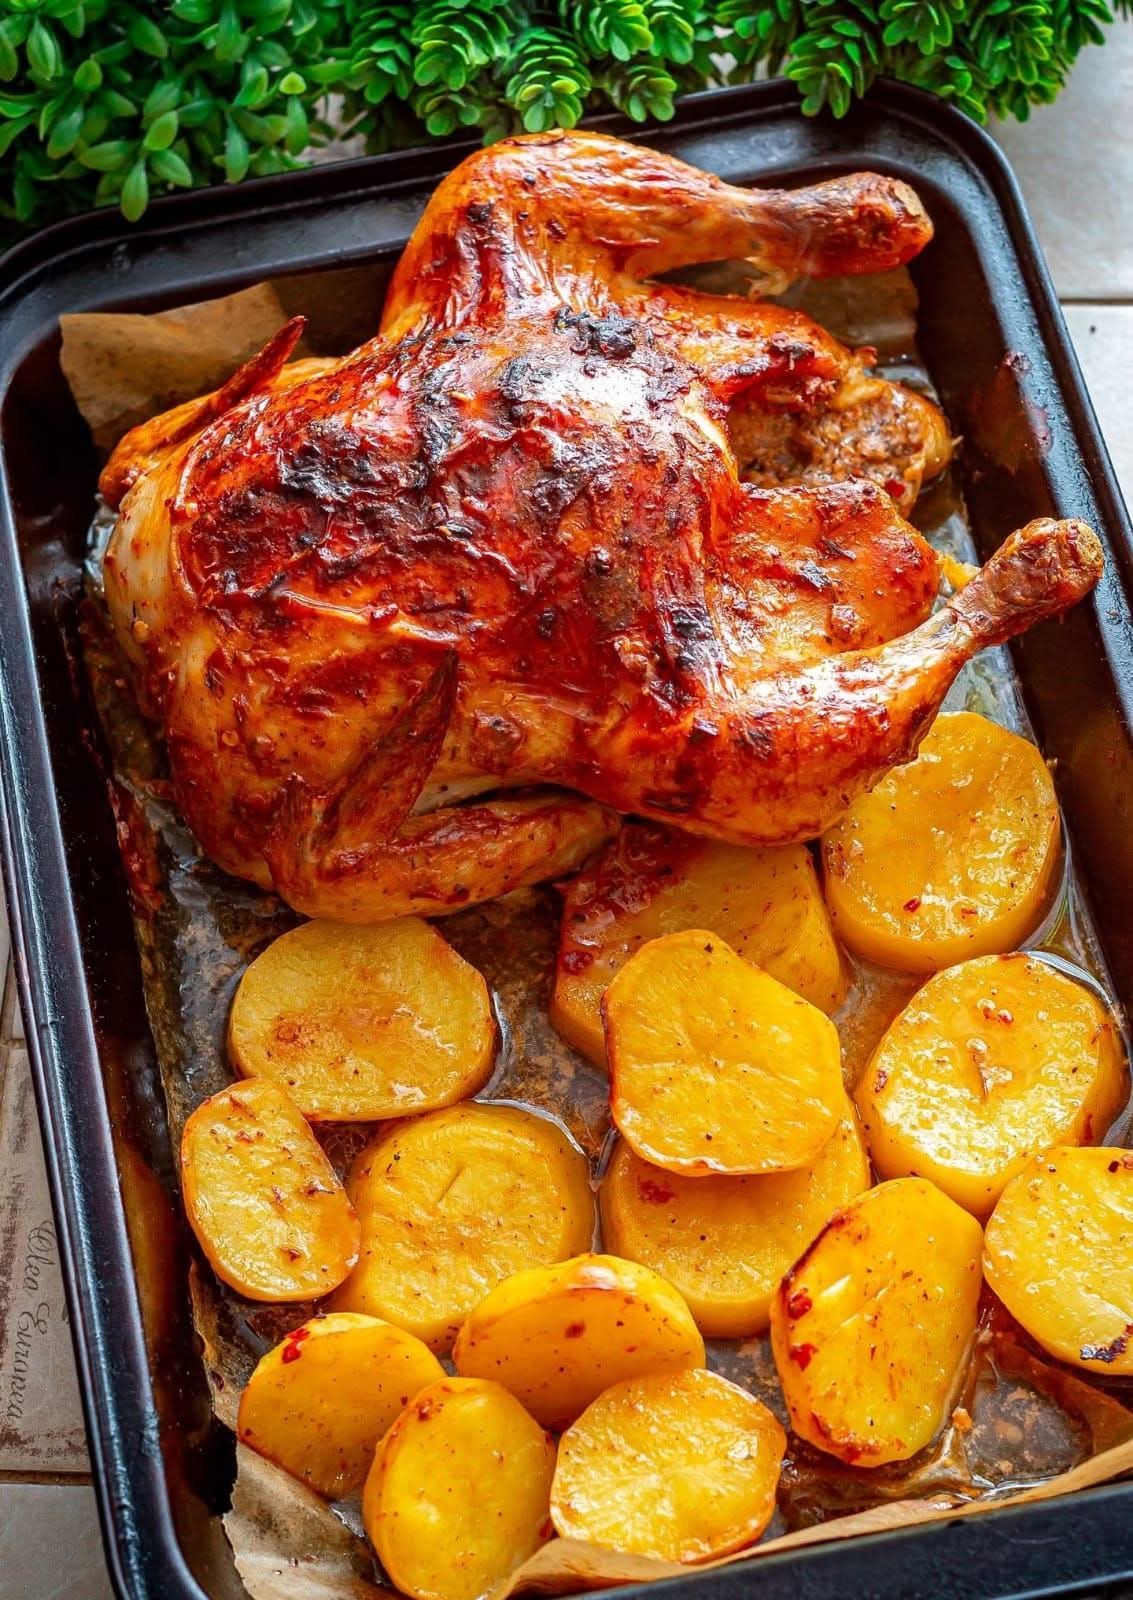
The Whole Roasted Chicken with Golden Potatoes, as stunningly presented in your latest culinary capture, is the undisputed crown jewel of home cooking. This dish represents more than just a meal; it is a masterclass in heat management, fat rendering, and the delicate balance between a shatteringly crisp skin and succulent, “dripping” breast meat. By roasting the chicken directly over a bed of sliced potatoes, you utilize the bird’s natural juices (liquid gold) to confit the vegetables, resulting in potatoes that are creamy on the inside and lacquered with savory chicken fat on the outside.
Achieving the deep, mahogany-red glaze and the “perfectly plump” silhouette seen in your photo—where the skin appears tight and caramelized while the potatoes are glowing with a saffron-like hue—requires a technical understanding of the Maillard reaction, dry-brining, and the physics of the roasting pan. This comprehensive guide explores the culinary science and refined techniques necessary to master this roasted masterpiece.
1. The Anatomy of a Perfect Roast
A successful whole roast chicken relies on a specific structural harmony. Based on the visual evidence in your gallery, this dish achieves perfection through four critical sensory layers:
- The Lacquered Skin: A deep, reddish-brown exterior that indicates a high-sugar or spiced rub has been applied and roasted at the correct temperature to caramelize without burning.
- The Juicy Interior: The “plump” appearance of the legs and breast suggests the bird was either brined or roasted “low and slow” initially to preserve cellular moisture.
- The Saffron-Golden Potatoes: Thick-cut potato rounds that have been positioned to catch the drippings, absorbing the aromatics and fats until they achieve a translucent, buttery texture.
- The Aromatic Pan Jus: A thin layer of concentrated flavor at the bottom of the pan, enriched by the chicken’s rendered fat and the starch from the potatoes.
2. Technical Precision: Preparing the Bird
The professional finish of the chicken in your photo begins long before it hits the oven. To replicate that taut, glossy skin, moisture is your enemy.
The Science of the Dry Brine
- Air-Drying: For the best results, salt the chicken and leave it uncovered in the refrigerator for at least 12–24 hours. This draws moisture out of the skin, allowing it to crisp up like parchment paper during roasting.
- The Spice Rub: As seen in your image, a reddish hue suggests the use of smoked paprika, garlic powder, and perhaps a touch of honey or brown sugar to facilitate the deep caramelization.
- Trussing: While your bird is roasted in a natural “spread” position to maximize skin exposure, tying the legs together (trussing) can help the breast meat cook more evenly by protecting the cavity.
3. The “Golden Potato” Technique: Confit in the Pan
The potatoes in your image are not merely a side; they are a fundamental component of the roasting process.
- The Cut: Use thick, uniform rounds of Yukon Gold or Russet potatoes. Their high starch content allows them to absorb the chicken drippings while maintaining their structural integrity.
- The Positioning: By placing the potatoes directly under the bird, they act as a “natural roasting rack.” This prevents the bottom of the chicken from becoming soggy and ensures the potatoes are saturated with flavor.
- The Flip: Halfway through the roast, gently toss the potatoes in the rendered fat to ensure even browning and to prevent them from sticking to the parchment paper.
4. Mastering the Heat: The Two-Stage Roast
The uniform color of the bird in your collection suggests a strategic use of oven temperature.
Stage 1: The Rendering (Medium Heat)
Roast the bird at 375°F (190°C). This temperature is high enough to begin rendering the subcutaneous fat but low enough to cook the dark meat (legs/thighs) through without drying out the lean breast meat.
Stage 2: The Glaze (High Heat)
During the final 15 minutes, increase the heat to 425°F (220°C) or use the convection setting. This creates the “blistered” and “lacquered” effect seen in your photo, locking in the juices and crisping the skin to its final mahogany state.
5. Nutritional Profile: The Hearty Roast
A whole roasted chicken is one of the most nutritionally complete meals, providing a balance of high-quality protein and essential vitamins.
| Component | Primary Contribution | Functional Note |
| Roasted Chicken | Lean Protein & B12 | Essential for muscle repair and neurological health. |
| Golden Potatoes | Potassium & Vitamin C | Provides sustained energy and supports heart health. |
| Chicken Fat (Schmaltz) | Monounsaturated Fats | Carries fat-soluble vitamins and provides intense satiety. |
| Spices (Paprika/Garlic) | Antioxidants | Boosts the immune system and adds metabolic-enhancing heat. |
6. Artistic Presentation and Staging
To match the rustic, appetizing look of your “Whole Roasted Chicken” photo, follow these staging principles:
- The Sheet Pan Reveal: Keeping the bird in the roasting pan (as seen in your image) emphasizes the “one-pot” simplicity and highlights the abundance of the meal.
- The Natural Garnish: The inclusion of green foliage in the background (like the potted plant in your photo) provides a color contrast that makes the warm reds and yellows of the chicken and potatoes “pop”.
- The “Glisten” Check: Before photographing, brush the bird with a final touch of the pan juices. This creates the high-definition highlights seen on the wing and breast in your image.
7. Culinary Inspiration: Integrating Your Gallery
The Whole Roasted Chicken is a versatile foundation that can be enhanced with other successes from your collection:
- The “Creamy Garlic” Side: Serve the chicken with a side of the sauce used in your Creamy Garlic Grilled Chicken Pasta for a luxurious dipping experience.
- The “Burrata” Upgrade: For a modern twist, serve the golden potatoes with a fresh Burrata Melt on top, inspired by your sun-dried tomato pasta.
- The “Fresh Salad” Balance: Contrast the heavy, roasted flavors with the Creamy Tuna Coleslaw or a fresh garden salad to cleanse the palate.
8. Frequently Asked Questions (FAQ)
How do I know the chicken is done without a thermometer?
Pierce the thickest part of the thigh; the juices should run completely clear. If they are pink, the bird needs more time. However, a thermometer reading of 165°F (74°C) is the safest and most accurate method.
Why are my potatoes still hard?
If the potatoes are cut too thick, they may not finish at the same time as the chicken. To fix this, you can par-boil the potato rounds for 5 minutes before placing them in the roasting pan.
Can I use this method for chicken pieces?
Yes! This “one-pan” method works perfectly for the Roasted Chicken Thighs seen elsewhere in your gallery, though the cooking time will be reduced to 35–45 minutes.