🔥 The Secret to Perfect Glazed Chicken: An Introduction
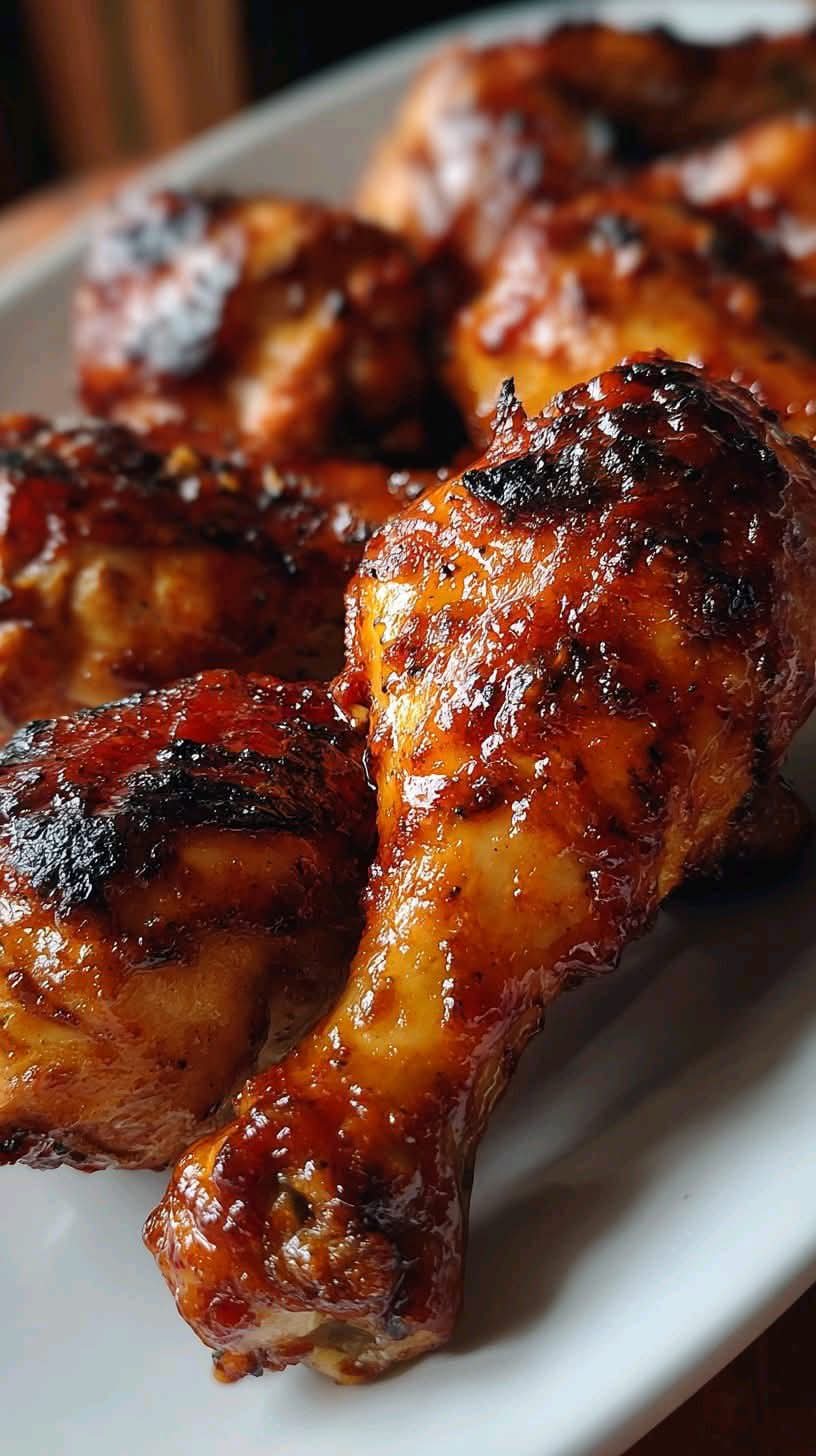
There is nothing quite as satisfying as biting into a perfectly cooked chicken drumstick—crispy skin gives way to moist, tender meat, all coated in a rich, caramelized, sticky glaze. This Ultimate Sticky, Sweet & Savory Glazed Chicken Drumsticks recipe delivers on every front. Forget dry, bland chicken; our simple technique ensures the drumsticks are cooked through to perfection while a quick, homemade sauce thickens and transforms into an irresistible, glossy coating that looks just like the mouth-watering chicken in the photograph.
This recipe is incredibly versatile. It’s perfect for a weeknight family dinner, a casual backyard barbecue (using the oven method for easy prep!), or a game-day appetizer. We’ll show you the crucial step of drying the chicken and the secret to achieving that deep, beautiful mahogany color and a glaze that stays put. Get ready to ditch the takeout and make these incredibly flavorful drumsticks your new go-to.
📝 Ingredients You’ll Need (The Full Flavor Arsenal)
To achieve the deep savory flavor and the beautiful glossy glaze, we divide our ingredients into two main components: the dry rub for the initial flavor base, and the homemade glaze.
For the Chicken Prep:
- 10-12 Chicken Drumsticks (about 3 lbs total).
- 1 tablespoon Olive Oil.
- Paper towels (crucial for drying the skin).
For the Savory Dry Rub:
- 1 tablespoon Smoked Paprika (essential for color and depth).
- 1 teaspoon Garlic Powder.
- 1 teaspoon Onion Powder.
- 1 teaspoon Dried Thyme.
- 1 teaspoon Salt.
- 1/2 teaspoon Black Pepper.
For the Sticky Glaze:
- 1 cup Ketchup (the base of the sweetness).
- 1/2 cup Honey or Maple Syrup (for the sticky factor).
- 1/4 cup Soy Sauce (adds savory umami).
- 2 tablespoons Apple Cider Vinegar (cuts the sweetness and adds tang).
- 2 cloves Garlic, minced.
- 1 tablespoon Dijon Mustard.
- 1/2 teaspoon Red Pepper Flakes (optional, for a hint of heat).
🔪 Step-by-Step Cooking Instructions (Mastering the Glaze)
Follow these detailed steps to guarantee moist chicken and a perfectly caramelized glaze.
1. Prepare and Season the Chicken (The Crispy Skin Secret)
- Crucial Step: Pat the chicken drumsticks thoroughly dry using paper towels. Moisture on the skin prevents it from crisping up and prevents the glaze from sticking later.
- In a small bowl, whisk together all the dry rub ingredients (smoked paprika, garlic powder, onion powder, thyme, salt, and pepper).
- In a large bowl, toss the drumsticks with 1 tablespoon of olive oil, then sprinkle the dry rub over the chicken. Use your hands to massage the spices into the skin, ensuring every piece is well coated.
2. Bake (The Initial Cook)
- Preheat your oven to 400^\circ\text{F} (200^\circ\text{C}).
- Line a large baking sheet with parchment paper or foil for easy cleanup. Place a wire rack over the baking sheet (this is essential for even cooking and crisping the bottoms).
- Arrange the seasoned drumsticks on the wire rack, ensuring they are not touching.
- Bake for 25 minutes. This sets the seasoning and starts rendering the fat.
3. Prepare the Glaze (The Flavor Boost)
- While the chicken bakes, prepare the glaze. In a small saucepan, combine all the glaze ingredients (ketchup, honey/maple syrup, soy sauce, apple cider vinegar, minced garlic, Dijon mustard, and red pepper flakes).
- Bring the mixture to a simmer over medium heat, stirring occasionally.
- Reduce the heat to low and let the glaze gently simmer for 5 to 7 minutes, or until it has thickened slightly and reduced by about 1/4. Remove from heat.
4. Glaze and Finish Baking (The Caramelization Phase)
- After the initial 25 minutes of baking, remove the chicken from the oven.
- Brush the chicken liberally with the prepared glaze, covering all sides.
- Return the glazed drumsticks to the oven. Continue baking for another 15 to 20 minutes, brushing with more glaze every 5 to 7 minutes. This layering process builds the thick, sticky coating.
- The chicken is done when the internal temperature of the thickest part reaches 165^\circ\text{F} (74^\circ\text{C}) and the glaze is dark, bubbly, and caramelized (like the photo).
5. Rest and Serve
- Remove the finished drumsticks from the oven and transfer them to a clean serving platter.
- Let them rest for 5 minutes before serving. The internal temperature will continue to rise slightly, and the glaze will set into that beautiful, sticky coating.
- Garnish with a sprinkle of toasted sesame seeds or fresh chopped chives for color, if desired.
⭐ Pro Tips and Flavor Variations (Customizing Your Chicken)
- Glazing Technique: Never add the glaze too early! Sugar burns quickly. The initial bake ensures the chicken is mostly cooked and the skin is sealed before the glaze goes on, preventing a charred, bitter crust.
- Marinating for Depth: For an even deeper flavor, you can rub the seasoning into the chicken and refrigerate it overnight. Skip the olive oil in this step and add it just before baking.
- Spice Level: To increase the heat, add up to 1 teaspoon of cayenne pepper to the dry rub or 1/2 teaspoon of sriracha to the liquid glaze ingredients.
- Honey Substitution: If you don’t have honey, brown sugar or maple syrup work wonderfully, providing a deep, rich sweetness that caramelizes well. Use 1/2 cup as specified.
- Broiler Finish (Optional): If you desire an extra-crispy, blistered crust, place the glazed chicken under the broiler for 1-2 minutes immediately after the final basting. Watch very closely, as sugar burns almost instantly under direct heat.
- Serving Suggestions: These drumsticks pair perfectly with a simple side of coleslaw, a refreshing cucumber salad, or fluffy white rice to soak up any extra glaze.