To recreate the thick, glossy apple layer seen in your picture, you’ll need the following:
- 4 large apples, peeled and diced into small cubes
- 3 tablespoons butter
- ½ cup brown sugar
- 1 teaspoon cinnamon
- 1 tablespoon lemon juice
- 1 tablespoon cornstarch mixed with 2 tablespoons water
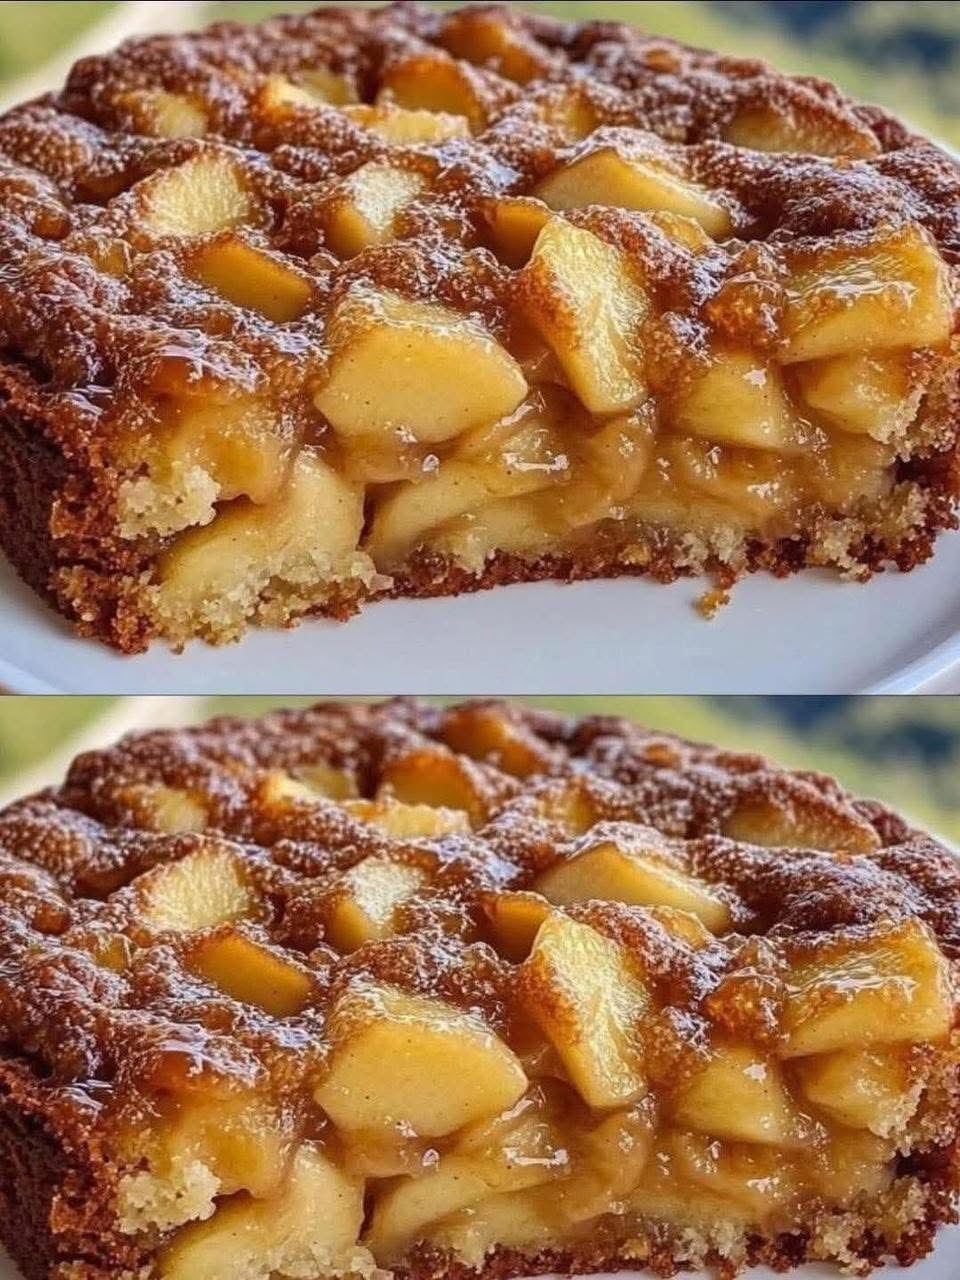
The apples should be firm—something like Honeycrisp, Braeburn, or Golden Delicious works well. These types keep their shape during cooking and don’t become mushy, which is why the apple pieces in your photo stay beautifully intact.
Ingredients for the Cake Batter
The base layer is tender and buttery:
- 1 cup all-purpose flour
- ½ cup white sugar
- 1 teaspoon baking powder
- A pinch of salt
- 1 teaspoon vanilla extract
- 2 eggs
- ½ cup melted butter
The melted butter creates a rich texture that pairs perfectly with the caramelized fruit on top.
Making the Apple Filling
Start by melting the butter in a medium pan over medium heat. Once it melts, add the diced apples, brown sugar, cinnamon, and lemon juice. The lemon juice keeps the apples bright and enhances their natural flavor. Stir everything and cook for about seven minutes, or until the apples begin to soften and release their juices. When they look slightly shiny and tender, stir in the cornstarch mixture. This step is very important because it thickens the filling and gives it the glossy, caramel-like appearance seen in the photo. Cook for another minute until the mixture becomes thick and coats the apples beautifully. Remove from heat and let it cool slightly while you prepare the cake batter.
Making the Cake Batter
In a mixing bowl, combine the flour, sugar, baking powder, and salt. Mixing the dry ingredients first ensures they distribute evenly throughout the cake. In a separate bowl, whisk together the eggs, melted butter, and vanilla. When the wet ingredients are smooth, pour them into the dry mixture and stir until just combined. Over-mixing can make the cake dense, so mix only until there are no dry streaks left. The batter should be thick but spreadable.
Grease a baking pan—round or square both work—and pour in the batter, smoothing the top with a spatula. The thick batter acts as a foundation to hold the apples without letting them sink completely to the bottom.
Assembling the Cake
Now comes the part that gives your cake its signature layered look. Spoon the apple filling evenly over the batter, making sure the pieces cover the entire surface. Press the apples very lightly into the batter so they settle just a bit but remain mostly on top. This allows the cake to rise around them while baking, creating the lovely golden top with visible apple chunks, just like the picture you provided.
Baking
Bake the cake in a preheated oven at 180°C (350°F) for 35–45 minutes. Keep an eye on it during the last 10 minutes—once the edges turn golden brown and the top looks caramelized and slightly sticky, the cake is done. You’ll notice the apples bubble a little on top as the sugar caramelizes, creating that shiny finish. A toothpick inserted into the cake portion (not the apples) should come out clean.
Cooling and Serving
Allow the cake to cool for at least 15 minutes before cutting. The caramel apple layer thickens as it cools, making it easier to slice while keeping the juicy middle intact. Serve warm for the best flavor, although it tastes wonderful at room temperature as well. For an extra indulgent touch, add a scoop of vanilla ice cream or a drizzle of caramel sauce.
Storage
This cake stores well:
- Up to 1 day at room temperature
- Up to 4 days in the refrigerator
- Up to 2 months in the freezer
Reheat individual slices in the microwave for 15–20 seconds to bring back the warm, gooey texture.
Ingredients for the Caramel Apple Filling
To recreate the thick, glossy apple layer seen in your picture, you’ll need the following:
- 4 large apples, peeled and diced into small cubes
- 3 tablespoons butter
- ½ cup brown sugar
- 1 teaspoon cinnamon
- 1 tablespoon lemon juice
- 1 tablespoon cornstarch mixed with 2 tablespoons water
The apples should be firm—something like Honeycrisp, Braeburn, or Golden Delicious works well. These types keep their shape during cooking and don’t become mushy, which is why the apple pieces in your photo stay beautifully intact.
Ingredients for the Cake Batter
The base layer is tender and buttery:
- 1 cup all-purpose flour
- ½ cup white sugar
- 1 teaspoon baking powder
- A pinch of salt
- 1 teaspoon vanilla extract
- 2 eggs
- ½ cup melted butter
The melted butter creates a rich texture that pairs perfectly with the caramelized fruit on top.
Making the Apple Filling
Start by melting the butter in a medium pan over medium heat. Once it melts, add the diced apples, brown sugar, cinnamon, and lemon juice. The lemon juice keeps the apples bright and enhances their natural flavor. Stir everything and cook for about seven minutes, or until the apples begin to soften and release their juices. When they look slightly shiny and tender, stir in the cornstarch mixture. This step is very important because it thickens the filling and gives it the glossy, caramel-like appearance seen in the photo. Cook for another minute until the mixture becomes thick and coats the apples beautifully. Remove from heat and let it cool slightly while you prepare the cake batter.
Making the Cake Batter
In a mixing bowl, combine the flour, sugar, baking powder, and salt. Mixing the dry ingredients first ensures they distribute evenly throughout the cake. In a separate bowl, whisk together the eggs, melted butter, and vanilla. When the wet ingredients are smooth, pour them into the dry mixture and stir until just combined. Over-mixing can make the cake dense, so mix only until there are no dry streaks left. The batter should be thick but spreadable.
Grease a baking pan—round or square both work—and pour in the batter, smoothing the top with a spatula. The thick batter acts as a foundation to hold the apples without letting them sink completely to the bottom.
Assembling the Cake
Now comes the part that gives your cake its signature layered look. Spoon the apple filling evenly over the batter, making sure the pieces cover the entire surface. Press the apples very lightly into the batter so they settle just a bit but remain mostly on top. This allows the cake to rise around them while baking, creating the lovely golden top with visible apple chunks, just like the picture you provided.
Baking
Bake the cake in a preheated oven at 180°C (350°F) for 35–45 minutes. Keep an eye on it during the last 10 minutes—once the edges turn golden brown and the top looks caramelized and slightly sticky, the cake is done. You’ll notice the apples bubble a little on top as the sugar caramelizes, creating that shiny finish. A toothpick inserted into the cake portion (not the apples) should come out clean.
Cooling and Serving
Allow the cake to cool for at least 15 minutes before cutting. The caramel apple layer thickens as it cools, making it easier to slice while keeping the juicy middle intact. Serve warm for the best flavor, although it tastes wonderful at room temperature as well. For an extra indulgent touch, add a scoop of vanilla ice cream or a drizzle of caramel sauce.
Storage
This cake stores well:
- Up to 1 day at room temperature
- Up to 4 days in the refrigerator
- Up to 2 months in the freezer
Reheat individual slices in the microwave for 15–20 seconds to bring back the warm, gooey texture.