Ingredients
For the Cake Base
1 ½ cups all-purpose flour
1 cup granulated sugar
½ cup unsalted butter, softened
3 large eggs
1 tablespoon vanilla extract
1 ½ teaspoons baking powder
¼ teaspoon salt
½ cup whole milk
For the Creamy Custard Filling
4 cups whole milk
1 cup granulated sugar
6 egg yolks
½ cup cornstarch
2 tablespoons butter
2 teaspoons vanilla extract
For the Caramelized Top
½ cup sugar
2 tablespoons butter
¼ cup heavy cream
Optional Garnish
Whipped cream
Powdered sugar
Instructions
Making the Cake Base
Start by preheating your oven to 350°F (175°C). This ensures your cake rises properly and cooks evenly. Prepare a baking pan (9×13 or similar) by greasing it lightly or lining it with parchment paper.
In a large bowl, cream the softened butter and sugar together until fluffy and pale. This process incorporates air into the batter and helps create a soft cake. Add the eggs one at a time, mixing well after each addition, followed by the vanilla extract.
In a separate bowl, whisk together the flour, baking powder, and salt. Add half of the dry mixture to the butter mixture, then pour in the milk, and finish with the rest of the dry mixture. Mix just until everything is combined—do not overmix, or the cake may become dense.
Spread the batter evenly into your pan and bake for 20–25 minutes or until a toothpick inserted in the center comes out clean. Let it cool completely before adding the custard.
Preparing the Thick Vanilla Custard
Pour the milk into a medium saucepan and heat it over medium heat until warm but not boiling. In a mixing bowl, whisk together the sugar, egg yolks, and cornstarch until smooth and thick.
Slowly pour half of the warm milk into the egg mixture while whisking constantly. This step, known as tempering, prevents the eggs from scrambling. Once combined, return the mixture to the saucepan with the remaining milk.
Cook over medium heat, stirring frequently. The custard will begin to thicken after several minutes. Once it reaches a smooth, pudding-like consistency, remove it from the heat and stir in the butter and vanilla extract. Allow it to cool slightly—but not fully—before layering it over the cake.
Assembling the Layers
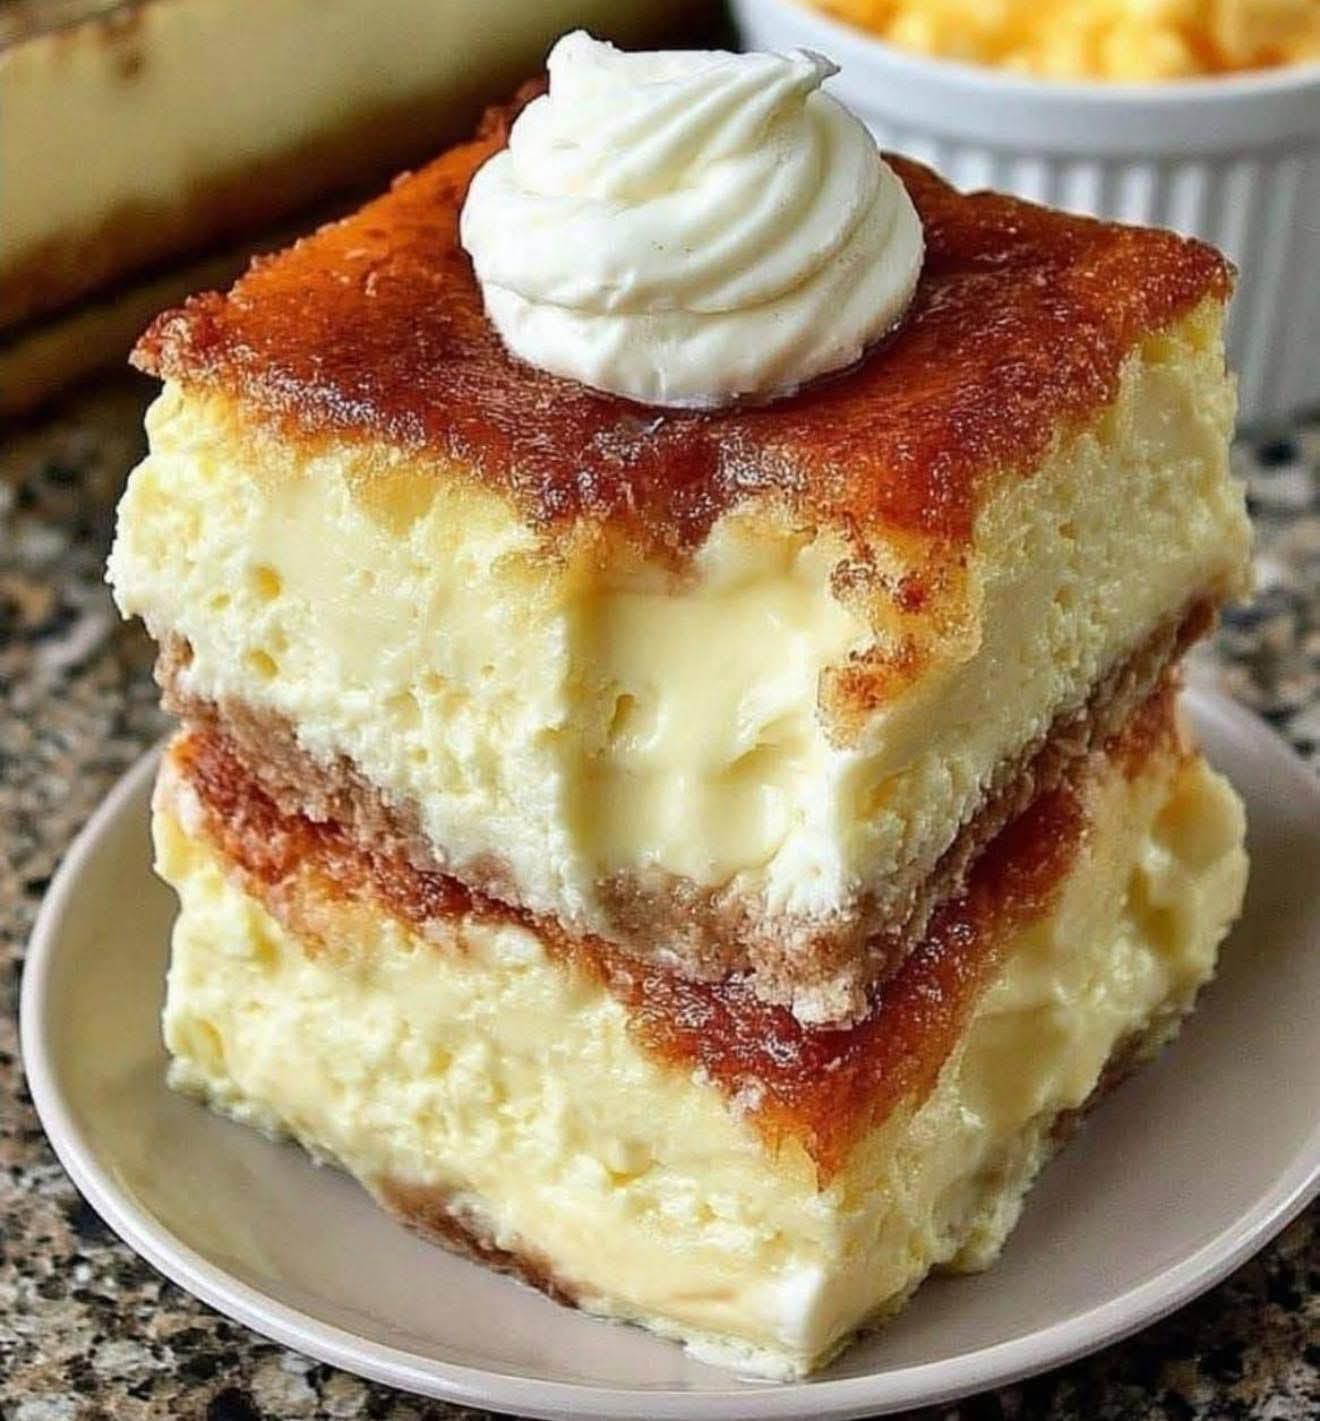
With your cake cooled and your custard still slightly warm, spread a generous layer of custard over the cake. For an extra rich version like the photo, pour half the custard, add another thin layer of cake (optional), then top with the remaining custard. Smooth out the top so the surface is even.
Place the cake in the fridge for at least 2–3 hours. This step is essential. The custard firms up, the cake absorbs flavor, and the layers become perfectly defined.
Making the Caramelized Top Layer
To achieve the glossy, caramel-brown top seen in the picture, melt the sugar in a small saucepan over medium heat. When it becomes a golden amber color, add the butter and whisk until smooth. Slowly pour in the heavy cream—it may bubble, so be careful.
Allow the caramel to cool slightly before spreading it over the chilled custard layer. It will settle into a shiny surface that firms up beautifully in the refrigerator.
Return the cake to the fridge for at least 1 more hour before slicing.
Serving the Cake
When fully chilled, cut generous square slices using a warm knife. Each piece will reveal the gorgeous layers:
soft cake
creamy custard
delicate caramel top
You can add whipped cream on top, just like the picture, for an elegant finish.
This dessert is rich, silky, and luxurious, making it perfect for celebrations or special occasions. It tastes even better the next day as the flavors continue to develop.
Tips for the Best Custard Cake
Use whole milk for a richer custard.
Do not skip the chilling time; the cake needs it to stabilize.
If you want extra flavor, add a splash of almond extract to the custard.
A water bath can help prevent over-browning, but it’s optional.
Slice gently to maintain clean layers.
Why This Cake Goes Viral
Its visual appeal, creamy layers, and comfort-dessert vibe make it perfect for social media sharing. The balance of textures—soft, creamy, slightly chewy, and caramelized—keeps people coming back for more. It’s the type of cake that looks like it took hours but is surprisingly simple when broken down into steps.