Why This Coconut Cream Cake Is So Irresistible
This cake wins hearts because it’s:
- Light instead of heavy
- Creamy without being overly sweet
- Moist yet fluffy
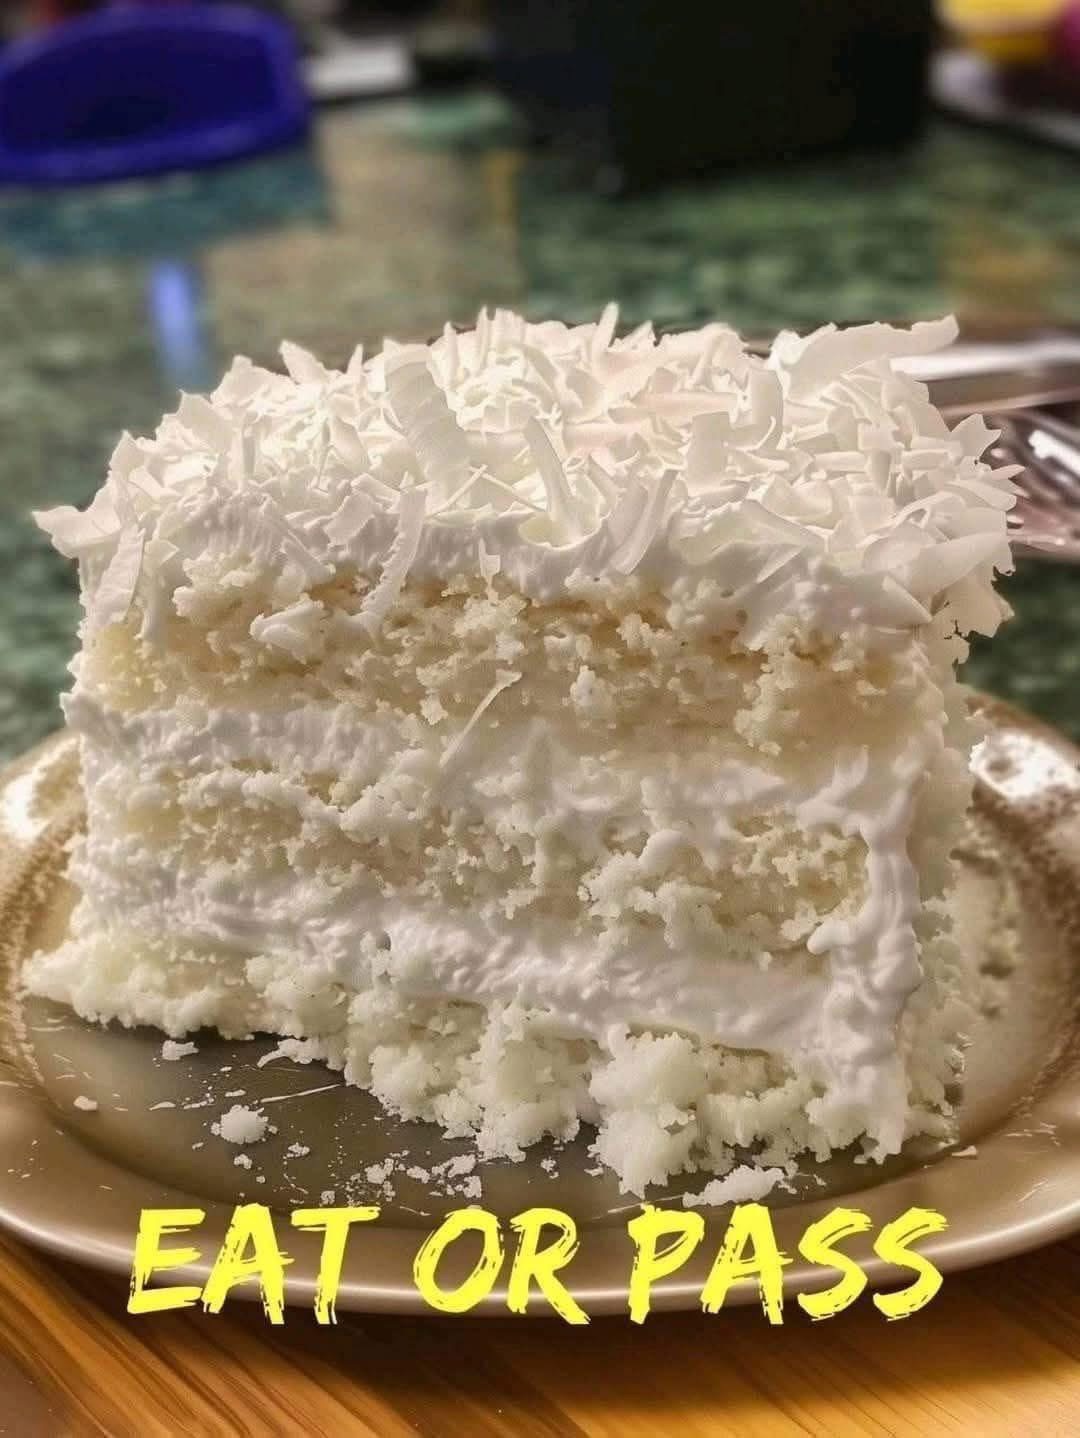
- Beautifully snowy and elegant
- Perfect for celebrations or everyday indulgence
Every bite melts in your mouth with soft sponge, airy cream, and tender coconut.
Ingredients You’ll Need
For the Vanilla Sponge Cake
- 2 cups (250 g) all-purpose flour
- 1½ cups (300 g) sugar
- 1 tablespoon baking powder
- ½ teaspoon salt
- ¾ cup (180 ml) vegetable oil
- 4 large eggs
- 1 cup (240 ml) milk
- 2 teaspoons vanilla extract
For the Cream Filling & Frosting
- 2½ cups (600 ml) cold heavy whipping cream
- ½ cup powdered sugar (adjust to taste)
- 1 teaspoon vanilla extract
For the Coconut Coating
- 2 cups unsweetened shredded coconut
- Optional: coconut flakes for texture
Step 1: Preparing the Cake Batter
Preheat oven to 175°C (350°F).
Grease and line two round cake pans (20–22 cm / 8–9 inches).
In a large bowl, whisk together:
- Flour
- Sugar
- Baking powder
- Salt
In another bowl, combine:
- Oil
- Eggs
- Milk
- Vanilla
Pour wet ingredients into dry ingredients and mix until smooth.
Do not overmix—this keeps the cake tender.
Step 2: Baking the Sponge Layers
Divide batter evenly between pans.
Bake for 25–30 minutes, until:
- Tops are lightly golden
- A toothpick inserted comes out clean
- Cakes spring back when touched
Cool in pans for 10 minutes, then transfer to racks to cool completely.
Step 3: Preparing the Whipped Cream
Place cold heavy cream in a chilled bowl.
Beat on medium speed until soft peaks form.
Add powdered sugar and vanilla.
Continue beating until stiff peaks form—but stop before it turns grainy.
You want a smooth, fluffy, cloud-like texture.
Step 4: Leveling the Cake Layers
If cakes domed slightly, trim tops flat using a serrated knife.
Optional: split each cake horizontally to create four thin layers for extra creaminess (like the photo).
Step 5: Assembling the Cake
Place first layer on a serving plate.
Spread a generous layer of whipped cream.
Add next cake layer and repeat.
Continue stacking until all layers are used.
Finish by spreading cream over the top and sides.
Step 6: Adding the Coconut Snow
Press shredded coconut gently onto:
- Top
- Sides
- Edges
Use your hands or a spatula to help it stick.
This creates that beautiful snowy appearance.
Texture & Flavor You’ll Get
This cake is:
- Ultra soft and fluffy
- Light as air
- Creamy but not dense
- Mildly sweet
- Refreshing and delicate
It’s perfect for people who prefer lighter desserts.
Pro Tips for Bakery-Quality Results
- Chill cream and bowl before whipping
- Use full-fat cream for stability
- Don’t overbake sponge
- Assemble once cake is completely cool
- Refrigerate before serving for clean slices
Delicious Variations
Coconut Milk Soaked Version
Brush layers with coconut milk for extra moisture.
Lemon Coconut Cake
Add lemon zest to batter and cream.
Pineapple Coconut Cake
Add crushed pineapple between layers.
White Chocolate Coconut
Drizzle melted white chocolate on top.
Almond Coconut Twist
Add almond extract instead of vanilla.
Serving Suggestions
Serve this cake:
- Chilled for best texture
- With fresh berries
- With hot coffee or tea
- As a birthday or holiday cake
- For summer gatherings
Storage & Make-Ahead Tips
Storage
Refrigerate in an airtight container for up to 4 days.
Freezing
Freeze unfrosted layers up to 2 months.
Make Ahead
Bake cake layers one day ahead and assemble next day.
Common Mistakes to Avoid
- ❌ Using warm cream
- ❌ Overwhipping cream
- ❌ Frosting warm cake
- ❌ Skipping chilling time
- ❌ Using sweetened coconut if you prefer light sweetness
Why This Cake Is So Popular
This Snowy Coconut Cream Cake is:
- Visually stunning
- Easy to customize
- Not overly sweet
- Perfect for all ages
- A guaranteed crowd-pleaser
It’s the kind of dessert people request again and again.