🥖 Ingredients
For the Dough:
• 3 cups all-purpose flour
• 1 tablespoon sugar
• 1 teaspoon salt
• 1 tablespoon instant yeast
• 2 tablespoons olive oil
• 1 cup warm milk (or water)
• 1/2 cup warm water (as needed)
For the Filling (Savory Chicken Version):
• 2 cups cooked chicken (shredded or diced)
• 1 medium onion (finely chopped)
• 1 bell pepper (chopped)
• 2 cloves garlic (minced)
• 2 tablespoons olive oil
• 1 teaspoon paprika
• 1/2 teaspoon black pepper
• 1 teaspoon salt (adjust to taste)
• 1/2 teaspoon cumin
• 1/2 teaspoon oregano
• 1/2 cup shredded cheese (optional but recommended)
For Assembly:
• 2 tablespoons melted butter or olive oil
• Optional: egg wash (1 egg + 1 tbsp milk)
⸻
🍳 Step 1: Prepare the Dough
Start by activating your yeast. In a bowl, mix warm milk with sugar and yeast. Let it sit for about 5–10 minutes until it becomes foamy. This step ensures your yeast is active and will give your dough a soft, airy texture.
In a large mixing bowl, combine flour and salt. Add the yeast mixture and olive oil. Begin mixing and slowly add warm water until a soft dough forms. Knead the dough for about 8–10 minutes until it becomes smooth and elastic.
Once kneaded, place the dough in a lightly oiled bowl, cover it with a towel or plastic wrap, and let it rise in a warm place for about 1 hour or until it doubles in size.
⸻
🍗 Step 2: Prepare the Filling
While the dough is rising, prepare your filling.
Heat olive oil in a pan over medium heat. Add chopped onions and sauté until translucent. Then add garlic and cook for another minute.
Add bell peppers and cook for 2–3 minutes until slightly softened. Now add the cooked chicken along with paprika, salt, black pepper, cumin, and oregano. Mix everything well and cook for about 5 minutes so the flavors combine.
Turn off the heat and let the mixture cool slightly. If using cheese, mix it in at this stage or sprinkle it during assembly.
⸻
🧩 Step 3: Shape the Wraps
Once the dough has risen, punch it down gently to release air. Divide it into equal portions (about 8–10 pieces depending on size).
Roll each piece into a ball, then flatten it into a rectangle or circle using a rolling pin.
Place a generous amount of filling in the center. Fold the dough over the filling like a parcel:
• Fold bottom up
• Fold sides inward
• Roll or seal tightly to form a square or rectangular pocket
Make sure the edges are well sealed so the filling doesn’t leak during baking.
⸻
🔥 Step 4: Bake to Perfection
Preheat your oven to 180°C (350°F).
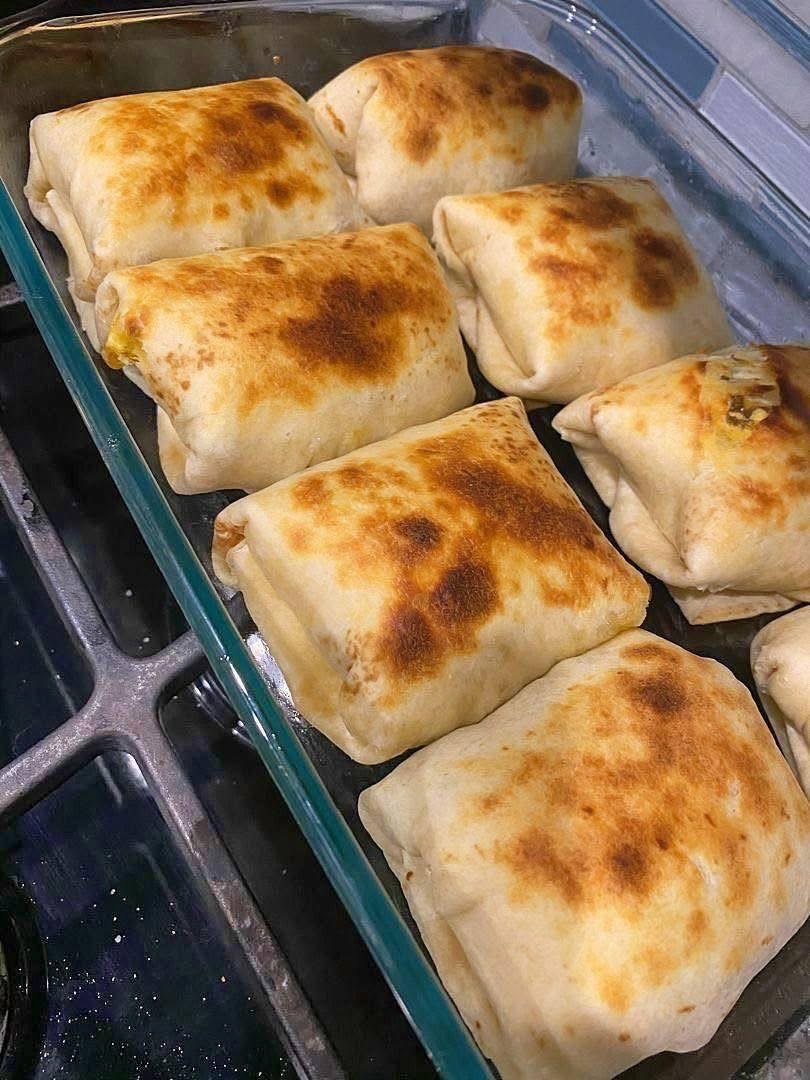
Place the stuffed wraps seam-side down in a greased baking dish (like in your image). Brush the tops with melted butter or olive oil for a golden finish. You can also use egg wash for extra shine.
Bake for 20–30 minutes or until the tops turn golden brown with slightly darker toasted spots.
⸻
✨ Tips for Best Results
• Don’t overfill: Too much filling can cause the wraps to open during baking.
• Seal well: Press edges firmly or use a little water to seal.
• Let them rest: After baking, let them cool for 5–10 minutes before serving.
• Use cheese wisely: It adds creaminess but can leak if overused.
⸻
🧀 Variations You Can Try
1. Ground Meat Version
Replace chicken with spiced minced beef or lamb. Add a bit of tomato sauce for richness.
2. Vegetarian Option
Use sautéed mushrooms, spinach, potatoes, or mixed vegetables with spices.
3. Cheese Lovers
Use mozzarella, cheddar, or cream cheese for a gooey center.
4. Spicy Version
Add chili flakes or hot sauce to the filling for a kick.
⸻
🍽️ Serving Suggestions
These stuffed wraps are perfect as:
• A quick dinner
• Party snacks
• Lunchbox meals
• Street food-style bites
Serve them with:
• Garlic sauce
• Yogurt dip
• Spicy ketchup
• Fresh salad
⸻
🧊 Storage & Reheating
• Fridge: Store in an airtight container for up to 3 days
• Freezer: Freeze before baking for up to 1 month
• Reheat: Bake or air fry at 180°C for 5–10 minutes
Avoid microwaving if you want to keep them crispy.
⸻
💡 Final Thoughts
This recipe is simple, flexible, and incredibly satisfying. The golden crust you see in your image comes from proper baking and brushing with oil or butter. Inside, the soft bread and flavorful filling create the perfect bite.