Why Everyone Loves These Bars
These bars are popular because they combine:
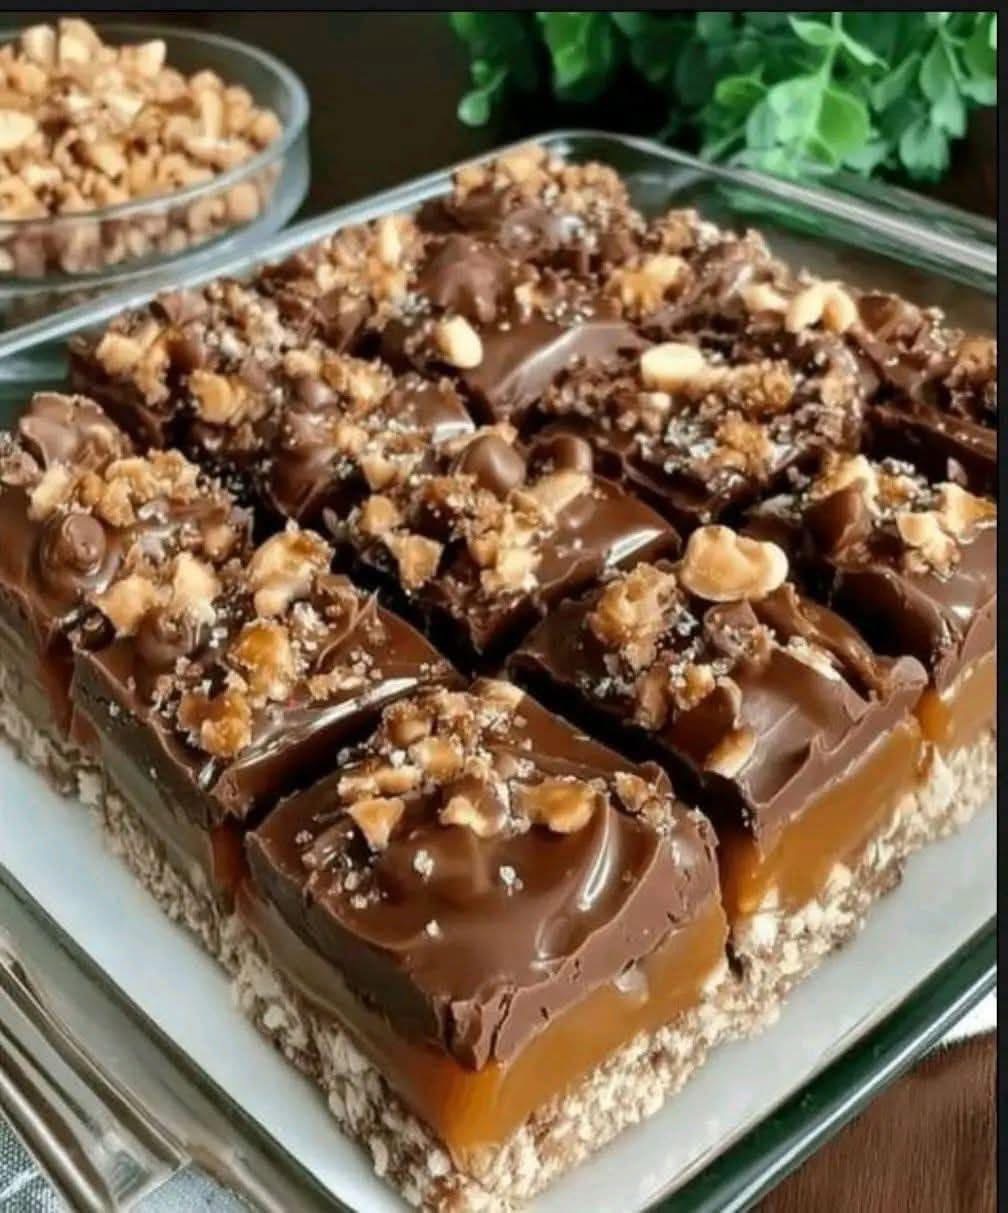
- Crunchy bottom layer
- Thick gooey caramel
- Creamy chocolate topping
- Nutty crispy finish
Every bite gives a perfect balance between sweet, soft, and crunchy textures.
Ingredients You Will Need
Crunchy Base
- 2 cups crushed biscuits or graham crackers
- ½ cup melted butter
- 2 tablespoons sugar
Caramel Layer
- 1 can condensed milk
- ½ cup brown sugar
- 2 tablespoons butter
- Pinch of salt
Chocolate Layer
- 1½ cups milk chocolate or dark chocolate
- 2 tablespoons cream or milk
Topping
- Chopped nuts (walnuts, peanuts, or almonds)
- Chocolate chips (optional)
Choosing the Best Chocolate
Quality chocolate makes a big difference.
Good choices:
- Milk chocolate → softer and sweeter
- Dark chocolate → rich and less sweet
- Combination → balanced flavor
Chocolate with higher cocoa butter melts smoother and gives a shiny finish.
Making the Crunchy Base
In a bowl mix:
- Crushed biscuits
- Melted butter
- Sugar
Press firmly into a parchment-lined dish.
Tips:
- Use a spoon or flat glass to press evenly
- Make sure base is compact so bars hold shape
Place in fridge while preparing caramel.
Cooking the Caramel Layer
In a saucepan combine:
- Condensed milk
- Brown sugar
- Butter
- Salt
Cook over medium heat while stirring continuously.
After 5–7 minutes:
- Mixture thickens
- Color becomes golden
- Texture turns smooth and glossy
Do not stop stirring to prevent burning.
Adding Caramel to the Base
Pour warm caramel over chilled base.
Spread evenly with a spatula.
Refrigerate for 20–30 minutes so layers set properly before adding chocolate.
Melting the Chocolate Correctly
Melt chocolate with cream using:
- Microwave in short intervals OR
- Double boiler method
Stir until smooth and shiny.
Adding cream helps:
- Softer texture
- Easier cutting
- Better shine
Adding the Chocolate Layer
Pour melted chocolate over the caramel.
Spread gently until smooth.
Sprinkle nuts and chocolate chips on top.
Press lightly so toppings stick once set.
Chilling and Setting
Refrigerate for:
- At least 2 hours
This helps layers become firm enough for clean cutting.
If you want faster results, freeze for 20 minutes then transfer to fridge.
Cutting Perfect Squares
Use a sharp knife.
Pro tip:
- Dip knife in warm water
- Wipe clean between cuts
This creates neat bakery-style edges.
Serving Suggestions
Serve:
- Cold from fridge
- With coffee or tea
- With vanilla ice cream
Because they are rich, smaller pieces are perfect.
Storage Tips
Refrigerator
- Airtight container
- Up to 1 week
Freezer
- Wrap individually
- Up to 2 months
Let sit a few minutes before eating for best texture.
Common Mistakes to Avoid
- Overcooking caramel
- Not pressing base firmly
- Adding hot chocolate over soft caramel
- Cutting before fully chilled
- Using too thin layers
These details affect final structure.
Flavor Variations
Try these easy twists:
Salted caramel: sprinkle sea salt on top.
Peanut butter version: mix peanut butter into caramel.
Coconut style: add coconut flakes to base.
Dark chocolate deluxe: use high-cocoa chocolate.
Very easy to customize.
Tips for Bakery-Style Results
- Chill between each layer
- Use parchment for easy removal
- Melt chocolate slowly
- Keep layer thickness balanced
- Allow full setting time
These small tricks improve both look and texture.
Why These Bars Are Perfect for Parties
These dessert bars work well because:
- Easy to prepare ahead
- Slice neatly
- Rich flavor in small portions
- Beautiful layered appearance
They always look impressive on dessert tables.
Final Thoughts
Chocolate caramel crunch bars are the perfect mix of crunchy, chewy, and creamy textures. The buttery base, smooth caramel, and rich chocolate topping create an irresistible dessert that feels professional but is simple to make at home.