Golden, Juicy, Garlic-Butter Chicken with a Crunchy Herb Coating
If you’re craving something crispy, flavorful, and comforting without deep frying, this oven-baked parmesan crusted chicken is exactly what you need. It delivers everything you love about fried chicken — crunch, flavor, and juiciness — but it’s baked in the oven with less oil and less mess.
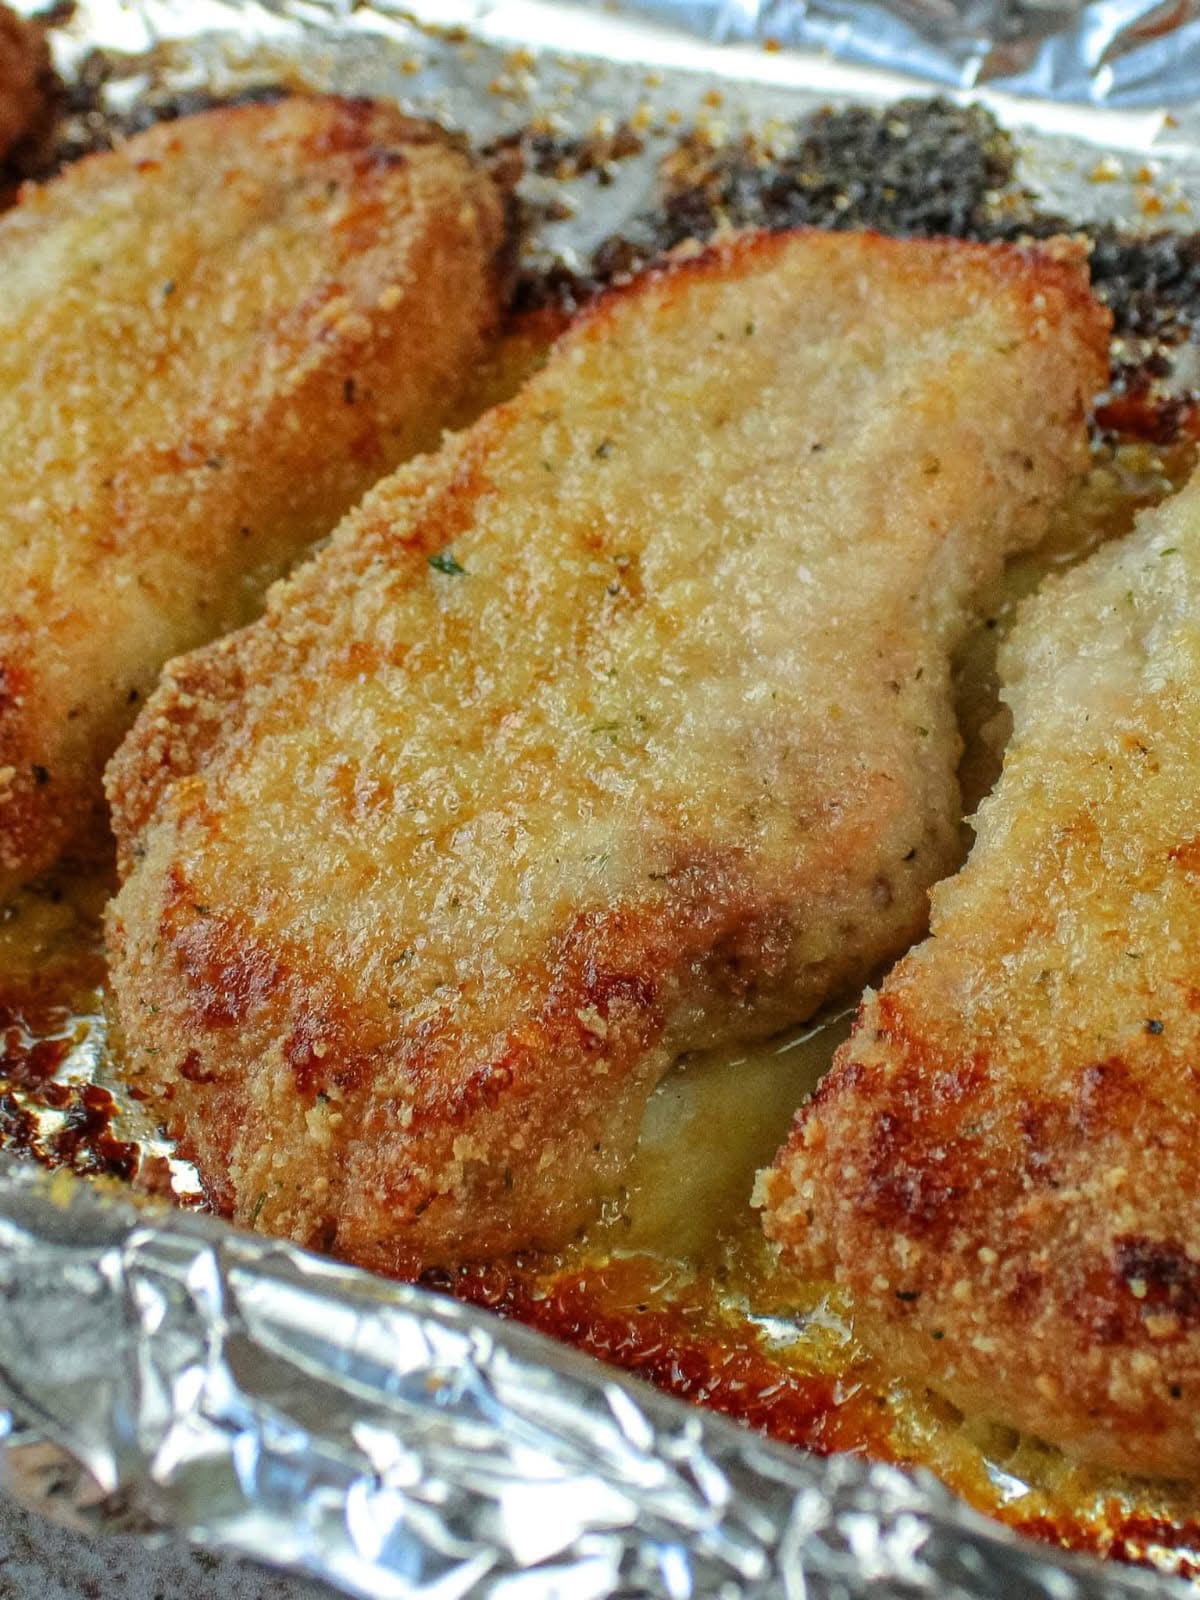
Each piece of chicken is coated in a delicious mixture of parmesan cheese, breadcrumbs, garlic, and herbs, then baked until golden brown and perfectly crispy. The outside forms a savory crust while the inside stays moist and tender.
This recipe is simple enough for weeknight dinners but impressive enough for guests. It pairs beautifully with almost any side dish and tastes like something you’d order at a cozy restaurant.
Once you try it, you’ll want to make it again and again.
🕒 Preparation Time
- Prep time: 15 minutes
- Cook time: 30–35 minutes
- Total time: 45–50 minutes
- Servings: 4 people
🧄 Ingredients
For the chicken
- 4 boneless skinless chicken breasts (or thighs)
- 1 teaspoon salt
- 1/2 teaspoon black pepper
- 1 teaspoon paprika
- 1 teaspoon garlic powder
- 1 teaspoon dried Italian herbs (oregano + thyme)
For the crispy coating
- 1 cup grated parmesan cheese
- 1 cup breadcrumbs (panko for extra crunch)
- 2 tablespoons olive oil or melted butter
- 1 teaspoon garlic powder
- 1 teaspoon dried parsley
- 1/2 teaspoon black pepper
For dipping
- 2 large eggs
- 2 tablespoons milk
Optional extras
- melted butter for brushing
- fresh parsley for garnish
- lemon wedges for serving
🍗 Why This Recipe Works Perfectly
Let’s break down the magic:
Parmesan cheese
Creates a salty, crispy crust and deep flavor
Breadcrumbs
Add crunch and golden texture
Eggs
Help the coating stick perfectly
Oven baking
Keeps it juicy without frying
Olive oil or butter
Helps crisp and brown beautifully
Together, these create a crispy outside and juicy inside every time.
👨🍳 Step-by-Step Instructions
Step 1 – Prepare the chicken
Pat the chicken dry using paper towels.
Dry chicken = crispier coating.
If the breasts are thick, slice horizontally or pound slightly to even thickness. This helps cook evenly.
Season both sides with:
- salt
- pepper
- paprika
- garlic powder
- herbs
Let it rest for 5–10 minutes to absorb flavor.
Step 2 – Prepare coating station
You’ll need 3 bowls:
Bowl 1 → eggs + milk (whisk together)
Bowl 2 → parmesan + breadcrumbs + seasonings
Bowl 3 → empty plate for coated chicken
Mix the breadcrumb mixture well so everything is evenly combined.
Step 3 – Coat the chicken
Take each piece and:
- Dip into egg mixture
- Coat completely in parmesan breadcrumb mix
- Press gently so coating sticks well
Make sure every surface is covered.
This step creates that thick crispy crust you see in the photo.
Step 4 – Prepare baking tray
Preheat oven to 200°C (400°F).
Line a tray with foil or parchment paper.
Lightly grease with oil or butter.
Place coated chicken pieces with space between them (don’t overcrowd).
Drizzle or brush a little olive oil or melted butter on top.
This helps achieve a golden finish.
Step 5 – Bake until golden
Bake for 25–30 minutes or until:
✔ Golden brown crust
✔ Crispy outside
✔ Internal temperature 75°C (165°F)
✔ Juices run clear
For extra crispiness, broil for 2–3 minutes at the end.
Step 6 – Rest before serving
Let chicken rest for 5 minutes after baking.
This keeps juices inside and prevents dryness.
Sprinkle fresh parsley and serve with lemon.
🧀 Texture Guide
Perfect result should be:
Outside → crispy, crunchy, golden
Inside → tender, juicy, flavorful
If coating is soft → bake longer
If too dark → lower oven slightly
🍽 Serving Ideas
This chicken pairs perfectly with:
- Mashed potatoes
- Roasted vegetables
- French fries
- Garlic rice
- Pasta
- Caesar salad
- Coleslaw
- Sandwich or wrap
You can even slice it for burgers or tacos.
🔥 Pro Tips for Extra Crispiness
Use panko breadcrumbs
They are lighter and crispier
Don’t overcrowd tray
Airflow = better crunch
Brush oil on top
Helps browning
Flip halfway (optional)
For even crisp
Let rest after baking
Keeps meat juicy
🥓 Flavor Variations
Spicy version
Add chili flakes or cayenne
Cheesy overload
Add mozzarella on top last 5 minutes
Garlic butter
Brush melted garlic butter after baking
Herb crust
Add rosemary and thyme
Low carb
Use almond flour instead of breadcrumbs
Air fryer
Cook at 190°C for 15–18 minutes
🥶 Storage Tips
Refrigerator
Store 3–4 days in airtight container
Reheat
Oven or air fryer only (keeps crispy)
Freezer
Freeze up to 2 months
❤️ Why Everyone Loves This Recipe
This dish is:
Crispy
Savory
Juicy
Easy
Healthy-ish
Family friendly
It feels like fried chicken but lighter and simpler.
Perfect for busy weeknights, meal prep, or weekend comfort food.