Why These Cream Cups Are So Popular
- No oven required
- Simple, affordable ingredients
- Perfectly portioned (great for selling or events)
- Smooth, rich, and not overly sweet
- Keeps well in the fridge
- Easy to flavor and customize
These cups are especially popular because they look professional, taste indulgent, and are extremely forgiving—even beginners can make them perfectly on the first try.
What Kind of Dessert Is This?
This dessert is best described as a no-bake cream dessert cup, similar to:
- Chocolate cream pudding
- Custard-style refrigerator dessert
- Soft set mousse
It uses cornstarch (or flour) to thicken instead of eggs or gelatin, making it:
- Egg-free
- Easy to store
- Stable for transport
Ingredients (Makes 8–10 Small Cups)
Base Cream Mixture
- 1 liter (4 cups) whole milk
- 200 ml (¾ cup + 2 tbsp) heavy cream
- 120 g (½ cup + 2 tbsp) sugar (adjust to taste)
- 60 g (½ cup) cornstarch
Flavor & Richness
- 40 g (3 tbsp) unsalted butter
- 1 teaspoon vanilla extract
Chocolate Add-Ins
- 100 g (3.5 oz) chopped chocolate or chocolate chips
(milk or dark, your choice)
Choosing the Right Chocolate
The chocolate you use changes the final flavor dramatically.
Best options:
- Milk chocolate → sweeter, softer flavor
- Dark chocolate (50–60%) → richer, less sweet
Avoid compound chocolate if possible—it melts differently and affects texture.
Step-by-Step Instructions
Step 1: Prepare the Thickening Base
- In a large saucepan (off heat), add:
- Cold milk
- Sugar
- Cornstarch
- Whisk thoroughly until completely smooth.
👉 This step is critical. Any lumps here will stay forever.
Step 2: Cook the Cream
- Place saucepan over medium heat.
- Stir continuously with a whisk or silicone spatula.
- After 5–7 minutes, the mixture will begin to thicken.
- Continue stirring until it reaches a thick custard consistency.
You should be able to coat the back of a spoon.
Step 3: Add Butter & Cream
- Lower the heat.
- Add butter and heavy cream.
- Stir until fully melted and smooth.
- Remove from heat.
At this stage, the mixture should be glossy and creamy.
Step 4: Add Chocolate & Vanilla
- Immediately add chopped chocolate.
- Stir gently until completely melted.
- Add vanilla extract.
- Mix well.
The heat of the cream will melt the chocolate perfectly.
Texture Check (Important)
The final cream should be:
- Thick but pourable
- Smooth and glossy
- Able to hold shape when spooned
If it’s too thick:
- Add 2–3 tablespoons warm milk and stir.
Step 5: Portion into Cups
- Pour or spoon the cream into small plastic or glass cups.
- Tap cups gently on the counter to remove air bubbles.
- Smooth the tops with a spoon.
This recipe yields 8–10 cups, depending on size.
Step 6: Chill to Set
- Let cups cool at room temperature for 15 minutes.
- Cover lightly.
- Refrigerate for at least 3 hours.
Overnight chilling gives the best texture.
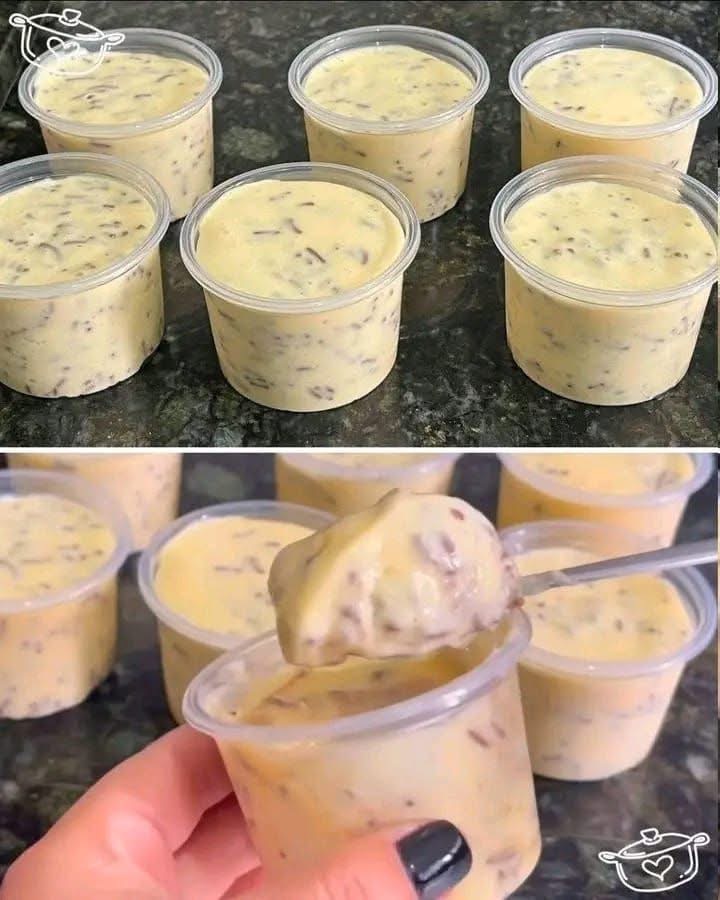
Texture & Flavor Experience
- Consistency: Ultra-smooth, spoonable, softly set
- Flavor: Creamy vanilla base with rich chocolate notes
- Mouthfeel: Silky, not gelatinous, not heavy
This dessert melts gently in the mouth.
Popular Variations
Vanilla Cream Cups (No Chocolate)
Skip chocolate and add:
- Extra vanilla
- Optional lemon zest
Coffee Version
Add:
- 1 teaspoon instant coffee dissolved in milk
Nut Version
Fold in:
- Toasted chopped hazelnuts
- Almond pieces
Oreo / Biscuit Version
Add:
- Crushed biscuits after cooking (fold gently)
Toppings Ideas (Optional)
- Chocolate shavings
- Cocoa powder
- Crushed biscuits
- Whipped cream
- Caramel drizzle
For selling, simple toppings keep costs low and appearance clean.
Storage & Shelf Life
Refrigerator
- Store covered
- Keeps 4–5 days
Freezing
- Not recommended (texture changes)
Tips for Selling or Meal Prep
- Use identical cup sizes for consistency
- Label with flavor and date
- Keep refrigerated at all times
- Do not stack when warm
- Chill fully before transport
This dessert is ideal for home businesses, bake sales, and cafés.
Common Mistakes to Avoid
- ❌ Not dissolving cornstarch fully
- ❌ Cooking on high heat
- ❌ Stopping stirring while heating
- ❌ Adding chocolate after mixture cools
- ❌ Over-sweetening
Nutrition (Approx. per Cup)
- Calories: 210–240 kcal
- Protein: 5 g
- Fat: 12 g
- Carbs: 24 g
Final Thoughts
These creamy no-bake chocolate cream cups are proof that simple ingredients can create a dessert that looks professional and tastes luxurious. Whether you’re making them for family, guests, or selling in small portions, this recipe delivers consistent texture, balanced sweetness, and irresistible creaminess every single time.