🧾 Ingredients
Base mixture
- 300 g milk chocolate or semisweet chocolate
- 150 g dark chocolate (for richness)
- 120 g butter
- ½ cup sweetened condensed milk (or ½ cup heavy cream)
- 1 teaspoon vanilla extract
- Pinch of salt
Crunch additions (choose 1–3)
- 200 g digestive biscuits or tea biscuits (roughly crushed)
- OR 3 cups rice krispies
- OR chopped wafers
- OR cornflakes
- OR roasted nuts (almonds, hazelnuts, peanuts)
You can mix biscuits + nuts + krispies for amazing texture!
Outer coating
- 250 g chocolate (milk or dark)
- 1 tablespoon oil or butter
- ½ cup puffed rice or crushed nuts (for crunch)
Optional extras
- Mini marshmallows
- Dried fruit
- Biscoff biscuits
- Caramel drizzle inside
🍫 Step 1 — Melt the Chocolate Base
Place dark and milk chocolate in a heatproof bowl with butter.
Melt gently using one of two methods:
Double boiler:
Place bowl over simmering saucepan (don’t touch water), stir until smooth.
Microwave:
Heat 20–30 seconds at a time, stirring between bursts.
Add condensed milk or cream, vanilla, and pinch of salt.
Stir until silky and glossy.
🔨 Step 2 — Add the Crunch
Place crushed biscuits and/or chosen mixers in a bowl.
Pour warm chocolate mixture over the crunch elements.
Stir well to coat every piece — this ensures every bite gets that perfect texture.
If adding marshmallows or dried fruit, mix them gently at this stage.
The mixture should be thick but spreadable.
If too liquidy, add more crushed biscuits.
📦 Step 3 — Shape the Cake
Line a loaf tin with parchment paper, leaving sides hanging for easy removal.
Pour mixture into the tin, pressing with a spatula to eliminate air pockets.
Smooth the top evenly.
Cover and refrigerate 2–4 hours until solid.
Freeze 30 minutes if you want faster results.
🍫 Step 4 — Chocolate Crunch Coating
Melt chocolate + 1 tablespoon oil until smooth.
Stir in puffed rice or crushed nuts.
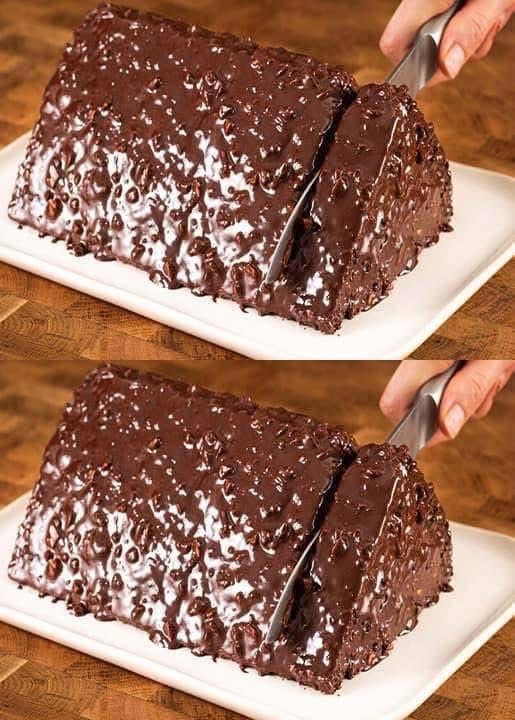
This gives the incredible bumpy coating you see in the picture!
Remove cake from tin and pour or spread coating evenly all over, using spatula to cover edges.
Let set in fridge 20–30 minutes until firm.
🔪 Step 5 — Slice & Serve
Use a sharp knife warmed in hot water (dry before cutting) for clean slices.
Serve at:
- Room temperature for soft fudge texture
- Chilled for candy-bar style firmness
Each slice will reveal ribbons of chocolate with crunchy surprises throughout — a total showstopper.
💡 Tips & Variations
Want it
extra crunchy
?
Increase puffed rice or biscuit chunks.
Want it
gooier
?
Add extra condensed milk or swirl in caramel or Nutella.
Make it grown-up
Add:
- Espresso powder
- Sea salt flakes on top
- Chili chocolate (Mexican style)
- Orange zest for Terry’s chocolate vibes
Make it kid-friendly
Use:
- Milk chocolate only
- Mini marshmallows
- Sprinkles mixed inside
Turn it into slices or balls
Press mixture into:
- Muffin liners for mini cakes
- Roll into balls + dip in chocolate
Error-proof trick
If outer chocolate cracks, patch with more melted chocolate — no one will notice!
🧊 Storage
This cake stores beautifully:
- Fridge: 2 weeks
- Freezer: up to 3 months
Slice before freezing for easy snacking
Serve cold or room temp — just don’t microwave or it melts.
🎉 Perfect For
- Ramadan/Iftar dessert trays
- Picnics
- Birthdays
- Movie nights
- Kids’ parties
- Holiday chocolate boxes
- Anytime chocolate cravings strike
❤️ Final Thoughts
This chocolate crunch cake proves something delicious doesn’t need to be complicated. A few ingredients, one bowl of melted chocolate, a handful of crunchy mix-ins, and time in the fridge are all it takes to produce a luxurious, sliceable, glossy dessert everyone falls in love with.
It’s dramatic, decadent, and endlessly customizable — whether you keep it classic with biscuits or turn it wild with caramel, nuts, and marshmallows.