Why Everyone Loves Lunch Lady Bars
These bars have remained popular for decades because they’re:
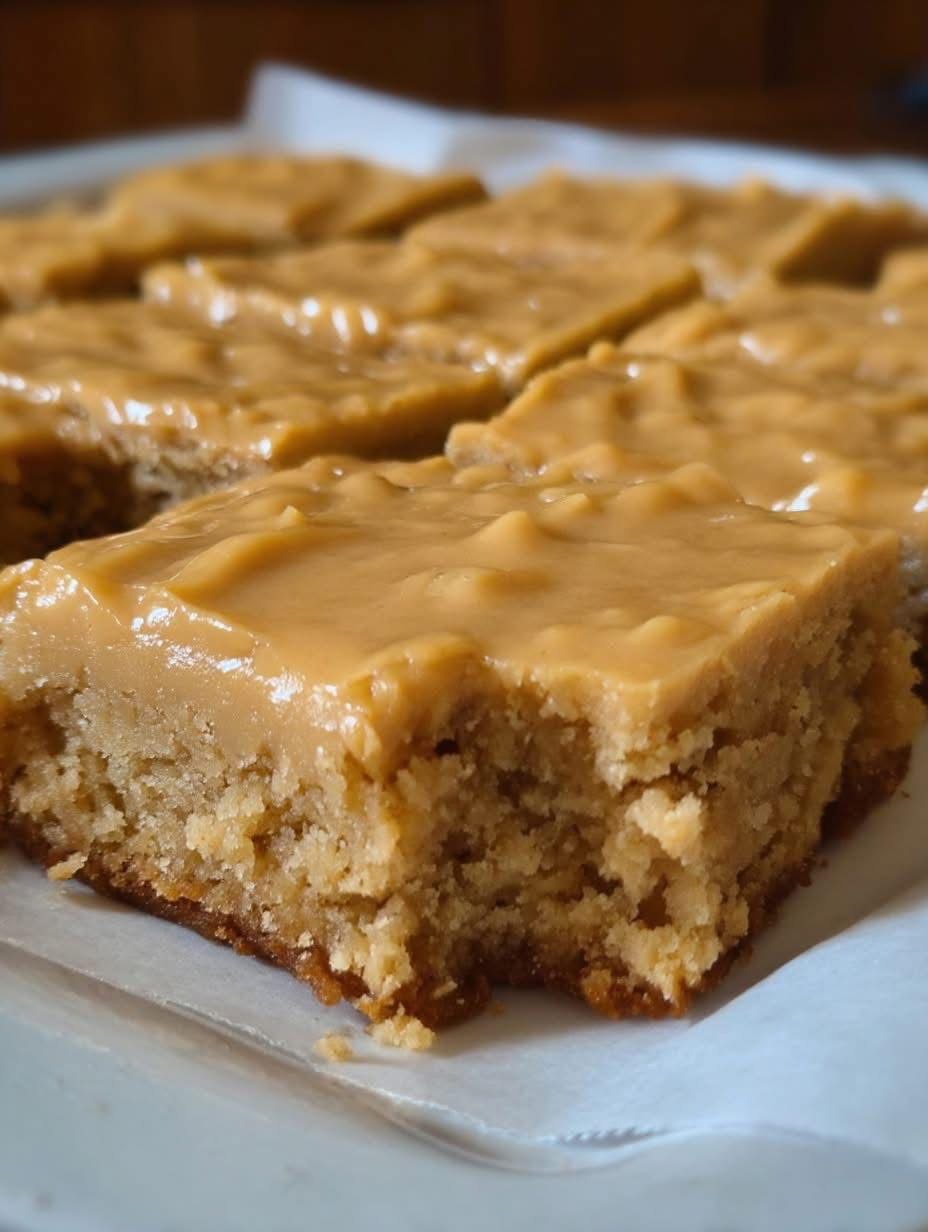
- Soft and chewy, never dry
- Loaded with peanut butter flavor
- Topped with creamy chocolate frosting
- Easy to slice and serve
- Made with simple pantry ingredients
They’re comforting, rich, and impossible to resist.
🥜 What Are Peanut Butter Lunch Lady Bars?
Originating in American school cafeterias, Lunch Lady Bars are sheet-pan peanut butter bars baked until just set, then covered with a warm chocolate frosting. The frosting slightly melts into the bars, creating that signature fudgy top layer.
They’re not brownies, not cake—just pure nostalgic goodness.
🛒 Ingredients for Peanut Butter Lunch Lady Bars
For the Peanut Butter Bars
- ½ cup unsalted butter, softened
- ½ cup creamy peanut butter
- 1 cup granulated sugar
- ½ cup brown sugar
- 2 large eggs
- 1 teaspoon vanilla extract
- 1½ cups all-purpose flour
- 1 teaspoon baking powder
- ½ teaspoon salt
- ½ cup milk
For the Chocolate Frosting
- ¼ cup unsalted butter
- ¼ cup milk
- 2 tablespoons cocoa powder
- 2 cups powdered sugar
- 1 teaspoon vanilla extract
🥣 Step 1: Make the Peanut Butter Bar Batter
Preheat oven to 175°C / 350°F. Grease and line a baking pan with parchment paper.
In a large bowl, cream together butter, peanut butter, granulated sugar, and brown sugar until light and fluffy.
Add eggs one at a time, mixing well. Stir in vanilla extract.
In a separate bowl, whisk together flour, baking powder, and salt.
Gradually add dry ingredients to the wet mixture, alternating with milk. Mix just until combined.
🧁 Step 2: Bake the Peanut Butter Base
Spread the batter evenly into the prepared pan.
Bake for 18–22 minutes, until the edges are lightly golden and the center is just set. Do not overbake—the bars should stay soft.
🍫 Step 3: Prepare the Chocolate Frosting
While the bars bake, make the frosting.
In a saucepan over medium heat, melt butter. Stir in milk and cocoa powder until smooth.
Remove from heat and whisk in powdered sugar and vanilla extract until creamy and glossy.
🍰 Step 4: Frost While Warm
Pour the warm chocolate frosting over the hot peanut butter bars.
Spread evenly with a spatula. The heat helps the frosting melt into the bars slightly, creating that classic texture.
⏳ Cooling and Slicing
Let the bars cool completely before slicing into squares or rectangles.
For cleaner cuts, refrigerate for 30 minutes before slicing.
😍 Texture & Flavor Experience
- Soft, chewy peanut butter base
- Rich, smooth chocolate topping
- Perfect balance of sweet and salty
- Melt-in-your-mouth texture
Every bite tastes like a childhood favorite.
🍽️ Serving Suggestions
Serve these bars:
- As an after-school snack
- At parties or bake sales
- With a glass of cold milk
- As a lunchbox dessert
They travel well and stay fresh for days.
❄️ Storage Tips
- Store at room temperature up to 3 days
- Refrigerate up to 1 week
- Freeze slices up to 2 months
Layer with parchment paper to prevent sticking.
🔄 Delicious Variations
Crunchy Peanut Butter Bars
Use crunchy peanut butter for added texture.
Peanut Butter Chocolate Chip Bars
Add chocolate chips to the batter.
Gluten-Free Version
Use a 1:1 gluten-free flour blend.
Extra Chocolate
Add a drizzle of melted chocolate on top.
🧠 Pro Tips for Perfect Bars
- Don’t overbake the base
- Frost while bars are still warm
- Use creamy peanut butter for smooth texture
- Measure flour correctly
⭐ Final Thoughts
These Peanut Butter Lunch Lady Bars are a timeless classic—soft, rich, and topped with irresistible chocolate frosting. One batch is never enough, and they’re guaranteed to disappear fast.