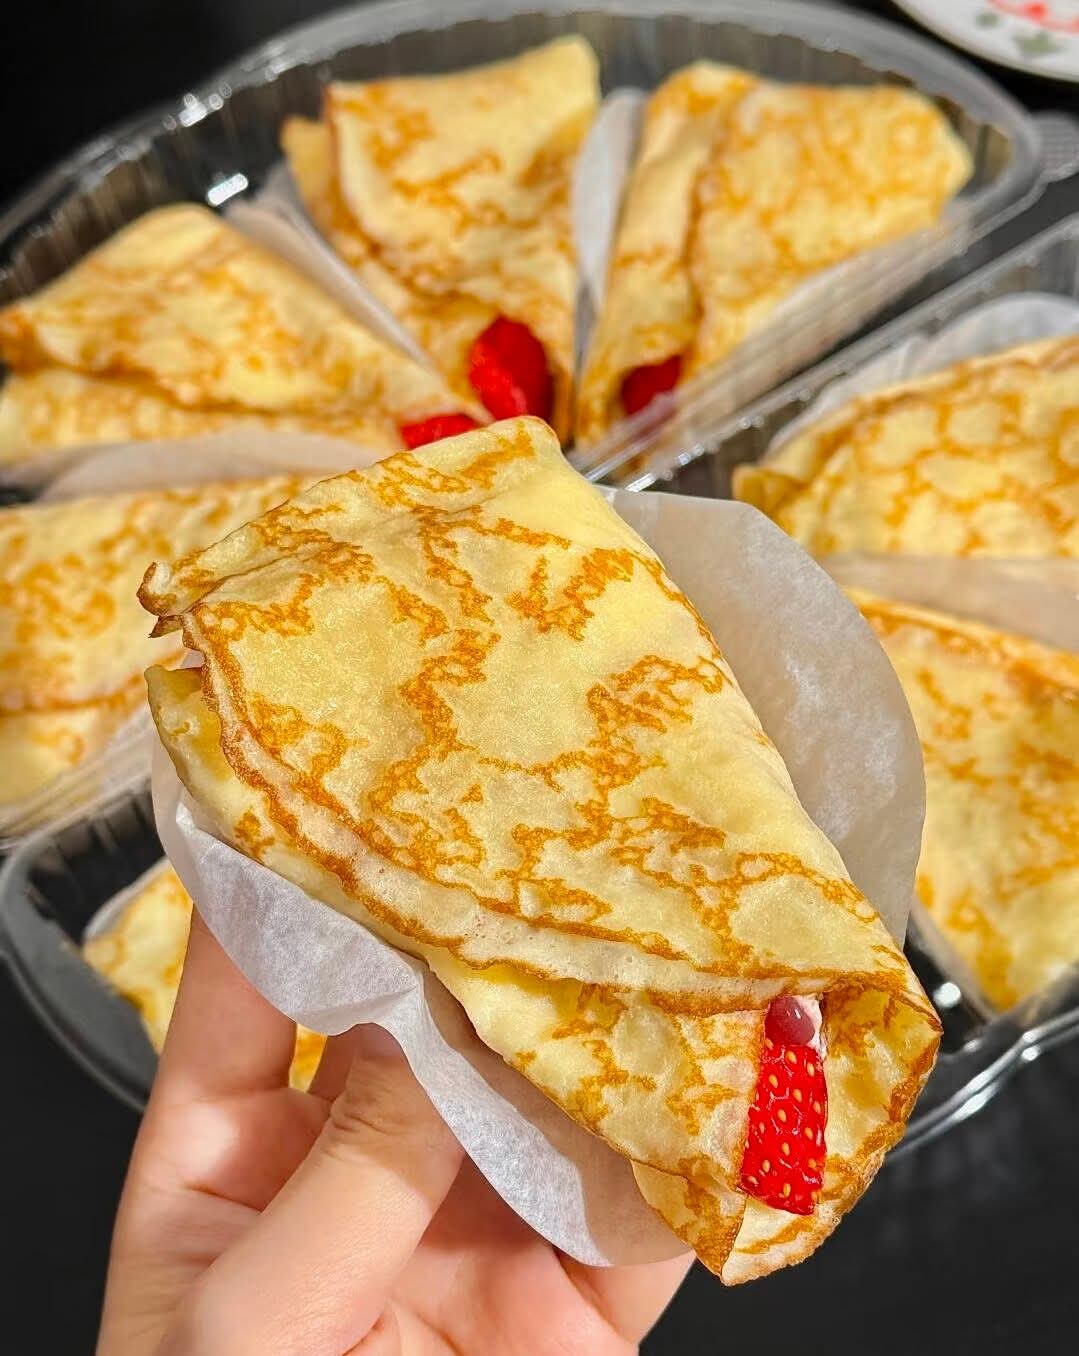
The Easy Homemade Crepe, as beautifully displayed in your latest gallery addition, is a triumph of delicate texture and golden-brown “lace.” Unlike thicker American pancakes, a perfect crepe is defined by its paper-thin structure, tender crumb, and the characteristic “mottled” pattern created by rapid protein coagulation on a hot surface. These crepes, folded into elegant triangles and bursting with fresh strawberry slices, represent the ultimate customizable canvas for both sweet and savory culinary artistry.
Achieving the professional, non-rubbery results seen in your hand-held photo—specifically the soft, foldable edges and the subtle buttery sheen—requires mastery over batter hydration, pan temperature, and the “swirl” technique. This comprehensive 1,000-word guide explores the technical precision, mixological theory, and artistic assembly required to craft these effortless French delights.
1. The Anatomy of a Perfect Crepe
A successful crepe is a balance of three critical physical properties. Based on the visual evidence in your collection, these crepes hit all three targets:
- The “Lace” Pattern: Also known as the mille-trous, these are the tiny, delicate brown spots formed where the batter makes direct contact with the hot fat.
- Elasticity: A perfect crepe must be strong enough to hold fillings like the strawberries shown but tender enough to be sliced with the side of a fork.
- The Golden Edge: The perimeter should be slightly crisp when it first leaves the pan but soften into a flexible, buttery border as it rests.
2. Technical Precision: Mastering the Batter
The secret to the “melt-in-your-mouth” texture seen in your image lies in the science of gluten development and resting.
The Ratio and Ingredients
To achieve the fluidity required for that signature swirl, the batter must be significantly thinner than pancake batter.
- The Liquid Base: A combination of whole milk and eggs provides the structural proteins.
- The Fat: Melted butter (specifically beurre noisette or browned butter) added directly into the batter ensures the crepes don’t stick and gives them a nutty, rich aroma.
- The Flour: All-purpose flour is standard, providing just enough gluten to prevent tearing without becoming tough.
The Crucial “Rest”
One of the most important steps for achieving the smooth surface seen in your gallery is resting the batter for at least 30 minutes.
- Hydration: This allows the flour to fully absorb the liquid, resulting in a more uniform texture.
- Air Bubble Removal: Resting allows air bubbles created during whisking to rise and pop, preventing your crepes from having unwanted “craters.”
- Gluten Relaxation: This ensures the crepes stay tender rather than turning rubbery or “bready.”
3. The Art of the Pan: Swirl, Flip, and Fold
The visual perfection of the crepes in your photo is a result of thermal control and timing.
Heat Management
To get the even, golden-brown mottling visible in your collection:
- Use a non-stick skillet or a traditional carbon steel crepe pan.
- The pan is ready when a drop of water “dances” and evaporates instantly.
- The Butter Brush: Use a pastry brush to apply a very thin layer of butter between every few crepes. Too much oil will lead to “fried” edges rather than the soft, lacey finish shown.
The Swirl Technique
- Lift the pan off the heat.
- Pour a scant 1/4 cup of batter into the center.
- Immediately tilt and rotate the pan in a circular motion until the batter coats the bottom in a thin, even layer.
- Return to the heat for 60–90 seconds until the edges pull away and the bottom is golden.
The Elegant Fold
As seen in your hand-held photo, the crepes are folded into quarters (triangles).
- Place the filling (like the fresh strawberries) on one-quarter of the crepe.
- Fold it in half, then in half again.
- This method creates multiple layers of tender crepe and filling, ensuring every bite is balanced.
4. Nutritional Context and Flavor Profiles
Crepes are inherently lighter than many other breakfast options, making them a favorite in the Mediterranean-inspired diet seen throughout your gallery.
| Component | Role | Functional Note |
| Eggs | Protein & Structure | Provides the “lift” and the golden hue seen in your photo. |
| Fresh Strawberries | Vitamin C & Acid | Cuts through the richness of the crepe and optional cream. |
| Whole Milk | Hydration & Fat | Contributes to the tender, soft crumb. |
| Butter | Flavor & Non-stick | Essential for that characteristic French “bistro” aroma. |
5. Professional Presentation: The “Street Food” Aesthetic
Your latest photo captures a wonderful “street food” or “market” style of presentation:
- The Parchment Wrap: Using individual wax paper or parchment sheets makes the crepes easy to hold and eat on the go, similar to a Parisian crêperie.
- The “Peek-a-Boo” Filling: By allowing the bright red strawberries to peek out of the fold, you create an immediate visual appeal that signals freshness.
- The Batch Arrangement: Staging the crepes in a clear container, as shown in the background of your image, creates a sense of abundance and “Mini Kitchen Magic.”
6. Frequently Asked Questions (FAQ)
Why do my crepes always tear?
This usually happens if the pan isn’t hot enough or if the crepe is flipped too early. Wait until the edges are completely dry and start to curl away from the pan.
Can I make these crepes savory?
Absolutely! To adapt the sweet version in your photo for a savory meal, simply omit the sugar and vanilla from the batter. They pair beautifully with the Garlic Butter Steak or Creamy Chicken seen elsewhere in your gallery.
How do I keep them warm for a crowd?
Stack the finished crepes on a plate and cover them with a clean kitchen towel. The residual steam will keep them soft and foldable, just like the ones in your picture.
7. Variation Ideas: Inspired by Your Gallery
While the strawberry crepe is a classic, you can use your other culinary inspirations to expand your crepe repertoire:
- The Tropical Crepe: Fill with the Grilled Pineapple from your chicken salad for a smoky-sweet summer dessert.
- The Savory Mediterranean: Fill with the Spinach and Bell Peppers from your egg white omelet and a sprinkle of feta cheese.
- The Decadent Breakfast: Pair with the Crispy Bacon and a drizzle of the maple syrup seen on your pancake platter.
- The “Burrata Melt” Style: Use the creamy center of the Burrata from your pasta dish as a luxurious filling, topped with a balsamic drizzle.