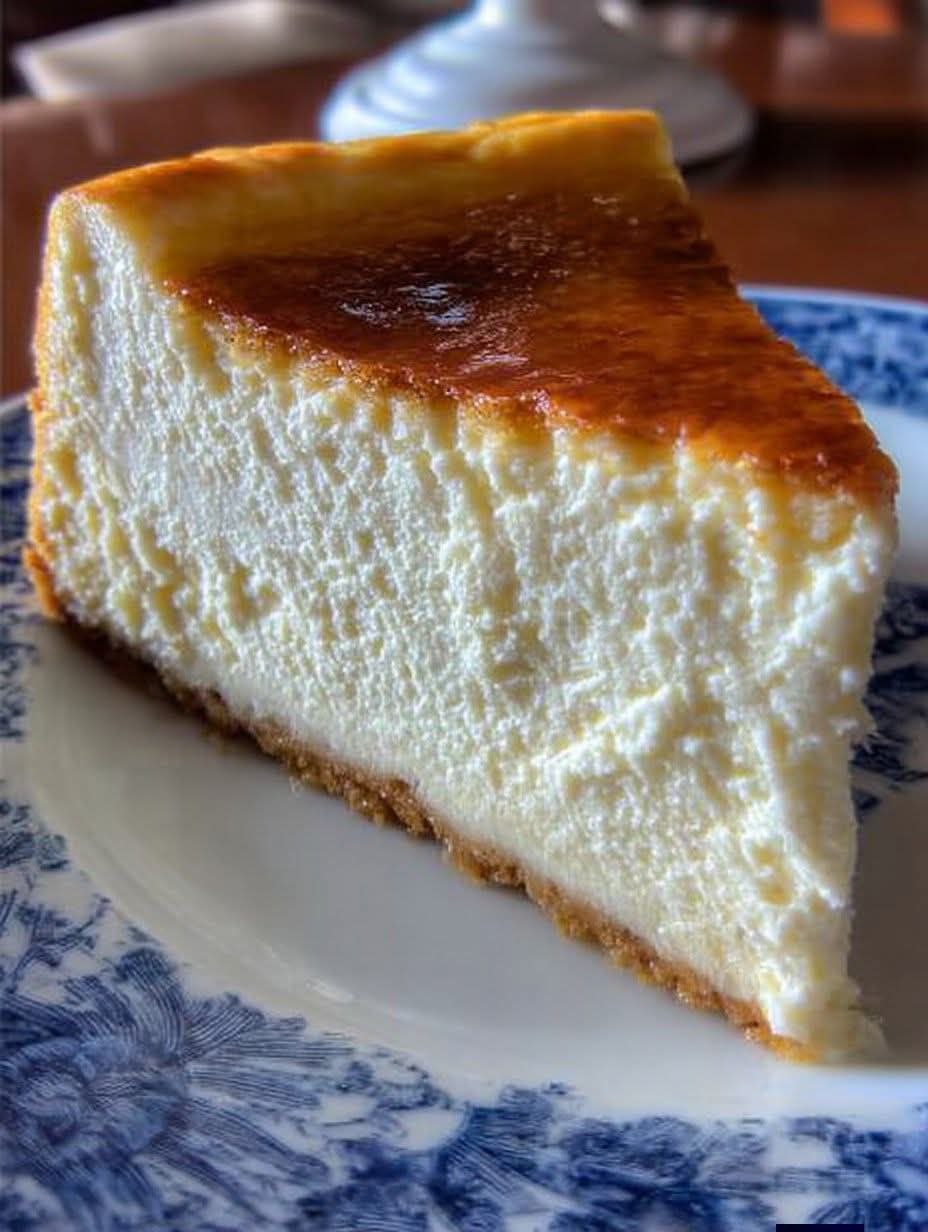
For many, the mention of Classic New York Cheesecake conjures images of a slice so tall, dense, and velvety smooth that it defines the very concept of dessert. Unlike its lighter, fluffier cousins, the New York style is renowned for its intense richness, a firm yet creamy texture, and a simple, subtle vanilla tang that sings against a buttery graham cracker crust. If you’ve been searching for the definitive recipe to replicate that iconic deli or bakery slice at home, your quest ends here. This comprehensive guide details every essential step, from choosing the right ingredients to mastering the gentle, low-and-slow bake that prevents cracks and guarantees a golden-brown crown.
What Makes New York Cheesecake Iconic?
The history of cheesecake stretches back to ancient Greece, but the modern New York Cheesecake as we know it—thick, rich, and intensely decadent—is a distinctly American invention, solidified in the 20th century. The key differentiator is the reliance on heavy cream and/or sour cream alongside a generous amount of full-fat cream cheese.
- Height and Density: Traditional recipes use an extra quantity of cream cheese and are baked in deep springform pans, giving them their characteristic stature.
- The Cream: The addition of heavy cream or sour cream is what provides that signature dense yet unbelievably smooth and moist texture, contrasting sharply with the slightly lighter textures found in European or Italian styles that might use ricotta.
- The Crust: A simple, sweet, and firm graham cracker crust is the traditional foundation, providing the perfect counterpoint to the creamy filling.
Essential Ingredients and Key Functions
To achieve the perfect texture of a Classic New York Cheesecake, quality and temperature of your ingredients are paramount.
| Component | Essential Ingredient | Function | Substitution Notes |
| Cream Base | Full-Fat Cream Cheese | Provides the foundational texture and tang. Must be fully softened. | Low-fat cream cheese is not recommended; it compromises structure. |
| Acidity/Moisture | Sour Cream or Heavy Cream | Adds essential moisture, richness, and aids in the silky texture. | Full-fat Greek yogurt can be used in a pinch, but sour cream is best. |
| Binder | Large Eggs | Binds the fat and moisture, setting the structure. | Ensure eggs are at room temperature to incorporate smoothly. |
| Crust | Graham Crackers | Provides a sturdy, slightly salty, sweet base. | Digestive biscuits, vanilla wafers, or ginger snaps. |
| Flavor | Vanilla Extract | Enhances the cream cheese flavor; use a high-quality pure extract. | Vanilla bean paste (use 1 tsp for superior flavor). |
Unlocking Nutritional Benefits (In Moderation)
While undoubtedly a treat, even a slice of Classic New York Cheesecake offers certain benefits when enjoyed mindfully:
- Calcium and Protein: The main ingredient, cream cheese, is rich in calcium, which is vital for bone and dental health. It also provides a significant boost of protein, contributing to satiety.
- Energy: The combination of fats and sugars offers a quick source of energy, making it an excellent reward after a long day.
Step-by-Step Instructions: Baking the Perfect Cheesecake
This recipe focuses on techniques designed to eliminate cracking and guarantee a smooth, creamy result.
Stage 1: The Crust (Preparation time: 10 minutes)
- Prepare the Pan: Preheat oven to $350^{\circ} \text{F}$ ($175^{\circ} \text{C}$). Wrap the outside bottom and sides of a 9-inch springform pan with a large double layer of heavy-duty aluminum foil. This is crucial for the water bath.
- Make the Mix: In a medium bowl, combine 1.5 cups of graham cracker crumbs, 1/4 cup of granulated sugar, and 6 tablespoons of melted unsalted butter. Mix until the crumbs are evenly moist.
- Press: Press the crumb mixture firmly into the bottom and slightly up the sides (about 1.5 inches) of the prepared pan. Bake for 10 minutes, then remove and reduce the oven temperature to $325^{\circ} \text{F}$ ($160^{\circ} \text{C}$).
Stage 2: The Filling (Preparation time: 15 minutes)
- Soften the Cream Cheese: Ensure five 8-ounce packages of full-fat cream cheese are fully softened to room temperature. This is the single most important step for a lump-free filling.
- Cream the Base: In a large bowl using an electric mixer (stand or hand mixer with a paddle attachment), beat the cream cheese on medium speed until perfectly smooth and creamy—about 3 to 5 minutes. Scrape down the bowl frequently.
- Add Sweeteners and Flavor: Gradually beat in 1.5 cups of granulated sugar until just combined. Mix in 1 tablespoon of vanilla extract and 1/4 teaspoon of salt.
- Incorporate Wet Ingredients: Beat in 1 cup of sour cream until smooth. Then, add 4 large room-temperature eggs, one at a time, mixing only until each egg is just incorporated. Do not overmix once the eggs are in, as this incorporates too much air.
Stage 3: The Gentle Bake (Bake time: 70–90 minutes)
- The Water Bath: Carefully pour the prepared filling into the pre-baked crust. Place the foil-wrapped springform pan inside a larger roasting pan. Carefully pour hot water into the roasting pan until it reaches halfway up the sides of the springform pan. The water bath ensures an even, moist, and gentle bake, preventing cracks.
- Bake: Bake at $325^{\circ} \text{F}$ for 70 to 90 minutes. The cheesecake is done when the edges look set and slightly puffed, but the very center (about 2 inches wide) still looks wobbly like gelatin.
- Cooling: Turn off the oven, crack the oven door slightly (you can prop it open with a wooden spoon), and leave the cheesecake inside the water bath for 1 hour. This slow, gradual cooling prevents a dramatic temperature drop, which is the main cause of surface cracks.
Stage 4: Chilling (Chill time: Minimum 8 hours)
- Final Chill: Remove the cheesecake from the water bath and aluminum foil. Let it cool completely on a wire rack at room temperature (about 1-2 hours).
- Refrigerate: Once cool, cover loosely with plastic wrap and chill in the refrigerator for a minimum of 8 hours, or preferably overnight. Do not attempt to slice it before it is fully chilled.
Professional Tips for the Smoothest Cheesecake
- Room Temperature is Non-Negotiable: Ensure all dairy ingredients and eggs are at room temperature. Cold ingredients will not emulsify properly, leading to lumps and a grainy texture.
- The Tap Test: Before baking, gently tap the pan on the counter a few times. This releases large air bubbles that can expand during baking and cause unsightly cracks.
- The Oven Door Trick: The most effective way to prevent cracking is the slow, controlled cooling inside the turned-off oven. This allows the internal structure to set without sudden thermal shock.
Common Mistakes to Avoid
- Overmixing: Mixing too fast or too long, especially after the eggs are added, introduces excessive air. This air expands rapidly in the oven, causing the cheesecake to rise too high and inevitably collapse and crack upon cooling. Mix slowly and only until combined.
- Skipping the Water Bath: The water bath is essential. It regulates the temperature and adds moisture, ensuring a uniform, creamy texture from edge to center.
- Under-Chilling: Slicing a warm or inadequately chilled cheesecake will result in a messy, structureless dessert. Wait for the full chilling time.
Serving and Presentation
Classic New York Cheesecake is often served plain, allowing its richness to shine. However, popular toppings include:
- Fruit Coulis: A bright, slightly tart raspberry or strawberry sauce.
- Fresh Berries: A simple garnish of fresh blueberries and raspberries.
- Chocolate: A drizzle of melted dark chocolate or a sprinkle of cocoa powder.
To achieve clean slices, dip a long, thin knife in hot water and wipe it dry between each cut.
Storage and Leftovers
- Refrigeration: Store leftover cheesecake covered loosely (a cake dome is perfect) in the refrigerator for up to 5 days.
- Freezing: Slice the chilled cheesecake, wrap each slice individually in plastic wrap, and then in a layer of foil. Freeze for up to 1 month. Thaw in the refrigerator overnight.
Frequently Asked Questions (FAQ)
Q: Why did my New York Cheesecake crack on the surface?
A: Cracking is usually caused by two things: overbaking (drying out the surface) or too rapid cooling (thermal shock). Ensure you use the water bath, avoid overmixing the batter, and cool the cake slowly inside the oven with the door propped open.
Q: Do I absolutely need to use a water bath?
A: While possible without one, the water bath is highly recommended for Classic New York Cheesecake. It provides insulation and steam, guaranteeing the smooth, crack-free, moist texture that defines this style.
Q: How do I know when the cheesecake is truly done?
A: The edges should be set and firm, but the center 2 inches should still have a noticeable wobble when the pan is gently nudged. It will finish setting during the long cooling and chilling process.
Q: What’s the secret to a perfectly smooth, lump-free filling?
A: The secret is simple: fully softened, room-temperature cream cheese and beating it on its own until perfectly smooth before any other ingredients are added. Beat on low speed after adding the eggs.
The Defining Dessert for Any Occasion
There’s a reason this dessert remains a legend. From its satisfying graham cracker crunch to its impossibly smooth, creamy filling, the Classic New York Cheesecake is a baking project that is immensely rewarding. By following these professional steps, you are guaranteed to master this iconic dessert and bring a taste of authentic New York baking into your own kitchen. It’s the perfect finale for any celebration.
Don’t wait—gather your ingredients and start creaming! Let us know how your perfect slice turned out in the comments below!