Ingredients
Chocolate Base
- 3 cups chocolate chips (milk or semi-sweet)
- ½ cup peanut butter (or Nutella, almond butter, etc.)
- 4 tbsp butter
Crunch Mix-Ins
(Choose one or mix two!)
- 3 cups Rice Krispies cereal
- OR 3 cups crushed cornflakes
- OR 2 cups mini marshmallows + 1 cup crispy cereal
- Optional: 1 cup chopped peanuts, almonds, or hazelnuts
Flavor Enhancers (Optional)
- 1 tsp vanilla extract
- Pinch of salt
- 2 tbsp honey or maple syrup (for extra shine and softness)
How to Make No-Bake Crunchy Chocolate Bars
1. Prepare Your Pan
Line a square baking pan (20×20 cm / 8×8 inches) with parchment paper.
Let extra parchment hang over the sides — this will help you lift the bars out cleanly later.
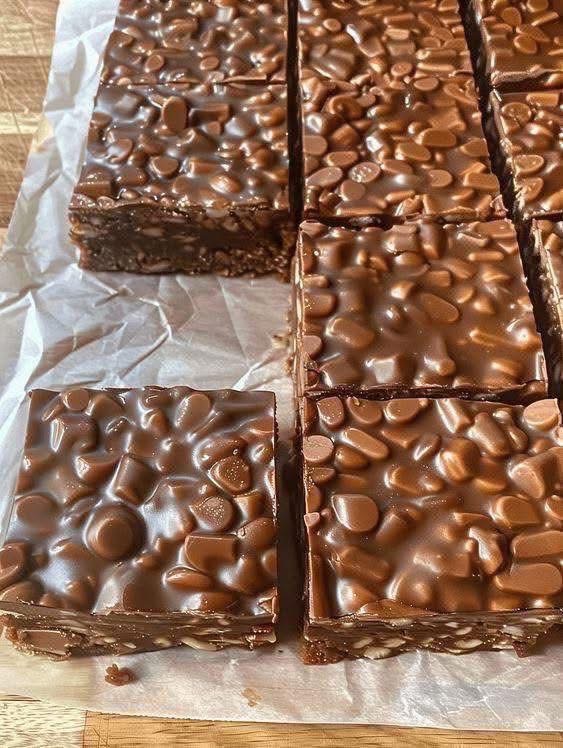
You can also use a rectangular pan if you prefer thinner bars. The ones in the photo appear thick and dense, so an 8×8 inch pan is perfect.
2. Melt the Chocolate Mixture
In a heat-safe bowl, combine:
- chocolate chips
- peanut butter
- butter
You can melt using:
Microwave Method:
Heat in 30-second intervals, stirring each time until smooth and glossy.
Stovetop Method:
Place the bowl over a pot of simmering water (double boiler) and stir gently until fully melted.
Once melted, the mixture should look silky and shiny. Add the vanilla and a pinch of salt to enhance the flavor.
If you want a softer, fudgier texture, add 2 tbsp honey or syrup — it helps create a texture like the bars in your image: firm but slightly soft when bitten.
3. Add the Crunchy Ingredients
Pour in your chosen crunchy ingredients (Rice Krispies, cornflakes, nuts, marshmallows, etc.). Fold everything together gently. Every piece of cereal should be coated in chocolate.
This is what gives the bars their signature bumpy, textured surface like the ones in your photo. The chocolate will cling to every small cluster, creating a glossy pebble-like top.
If you want the bars extra thick and packed, don’t be afraid to add slightly more cereal.
4. Press Mixture Into the Pan
Pour the mixture into your prepared pan.
Use a spatula to press it down firmly and evenly.
To achieve the smooth, shiny, perfectly flat top like in your photo:
- Lightly oil the back of a spoon
- Gently glide it over the surface to flatten everything
- Tap the pan on the counter once or twice to eliminate air pockets
You’ll see the beautiful glossy chocolate surface form immediately.
5. Chill to Set
Refrigerate for 2 hours or until firmly set.
If you want them even thicker and denser, chill overnight.
Once hardened, lift the block out using the parchment paper.
Use a sharp knife to cut into squares — the clean lines and smooth, shiny top will closely match the bars in your image.
Serving Suggestions
These bars are fantastic for:
- After-school snacks
- Party trays
- Coffee or tea treats
- Holiday dessert tables
- Meal prep snack boxes
They’re rich enough that one square is satisfying, but delicious enough that you may want two.
You can serve them cold right from the fridge for a crisp bite, or let them soften slightly at room temperature for a fudgier, melt-in-your-mouth texture.
Flavor Variations (Highly Recommended)
1. Triple Chocolate Bars
Add white chocolate chips + dark chocolate chunks inside.
2. Peanut Crunch Bars
Mix in roasted salted peanuts for sweet-salty perfection.
3. Marshmallow Rocky Road Bars
Add mini marshmallows + crushed biscuits.
4. Nutella Bars
Replace peanut butter with Nutella for a smooth hazelnut flavor.
5. Biscoff Crunch Bars
Stir in crushed Biscoff cookies + a spoon of cookie butter.